make your own kombucha (a picture tutorial)
What is Kombucha?
Kombucha originated in Asia around 220BC and was brought through Russia (known there as kvas) to western Europe and now it is most popular in the USA. Visiting my sis in Brooklyn is always such an event for me, as nearly every corner store there stocks a whole spectrum of Kombucha beverage flavours. For its numerous benefits, Kombucha has been given all kinds of names from 'elixir of long life' to 'divine chi' to 'miracle fungus'. It is in actual fact not a fungus or a mushroom, but rather a Scoby- a Symbiotic Colony Of [good] Bacteria and [spore-free and candida friendly] Yeast- which lives on sugary tea. It is a fermented drink, which is alcohol free (less than 0.5%).
What are some of Kombucha's benefits?
It is a well known source of probiotics, such as acidophilus and lactobacillus, which are also found in yoghurts. The big difference there is that Kombucha is not fermented on dairy, hence the probiotics survive their journey through the digestive tract into the gut where they are most beneficial. When good bacteria is present in your gut, that is when true balance is felt and seen from the inside out- many people take it daily on an empty stomach for improved digestion, to heal skin conditions such as eczema, to enhance the immune system and to cleanse the blood.
But Kombucha can also be used externally, especially for various skin ailments. If you simply add a litre of strong brew to your bath water, it will work to re-energise and heal your skin, while it absorbs through your pores. I recently learnt from my friends of Go! Kombucha that even leading cosmetic brands such as Chanel and Estee Lauder use antioxidant-rich Kombucha in their anti-wrinkle skin treatments to aid cellular renewal and help stem signs of ageing.
What about the sugar?
As you'll see below sugar + tea + scoby are the only components of Kombucha aside from water and there is quite an amount of sugar which must be used, since it is what provides food for the yeast resident in the culture. I still can't bring myself to buying (i.e.. supporting the production of) white granulated sugar, so I've used various other kinds such as the coconut palm sugar, honey, maple syrup and agave. In actual fact- plenty of research out there does show that the best type of sugar to use in this process is the ordinary supermarket white stuff (doh!), which gets entirely transformed in the process to a healing beverage beyond measure. During fermentation, the sucrose is broken down into simple sugars- glucose (70% and ferments quickly) and fructose (30% and provides residual sweetness in Kombucha). Fructose is responsible for the formation of acetic acid (acting as an inhibitor to harmful bacteria), while glucose is responsible for the formation of all other organic acids (acting as detoxifiers, antibiotics and metabolisers).
How can I make it?
Brewing your Kombucha beverage is extremely simple and fun, it is entirely natural and can easily become a basic routine, which takes just as much time and effort to prep as it does to make a cup of tea. It is also very hard to get it wrong, as long as you use the basic instructions below. Here's all you'll need:
A glass jar, 2 litre minimum
2 litres water
180g sugar
6g loose leaf tea
scoby + provided liquid (see below for suppliers)
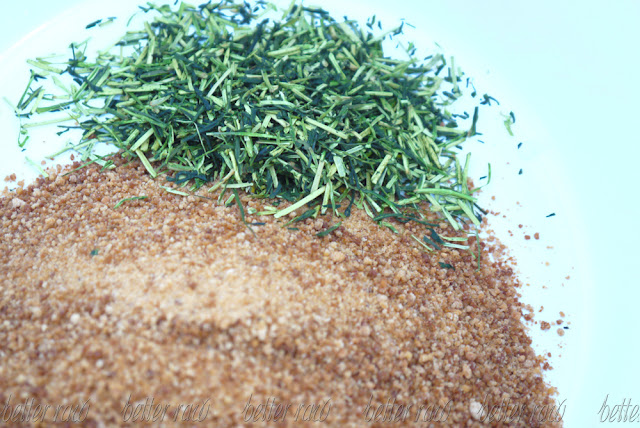
Measure out 180g of sugar. This can be any sugar at all, as it will break down and transform during the culturing process. I use coconut palm sugar from Raw Living for that caramel hint of flavour.
Measure out 6g of loose leaf tea. I use the best quality Japanese green tea from Chiki Tea.
Add 2 litres of hot water, stir and let the brew cool to room temperature.
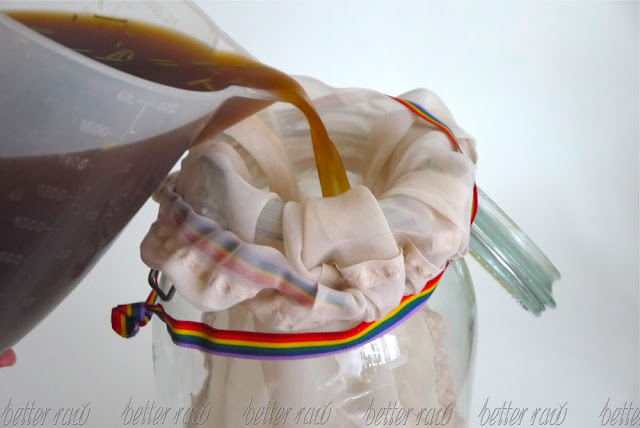
Strain the cooled tea into a glass jar (minimum 2 litre capacity). I used a nut milk bag from Living Milk, but it can be a stainless steel strainer, cheese cloth or even stockings.
I bought my kombucha scoby when I visited Prague, but you can easily get yours online by simply googling 'buy kombucha scoby'. UK peeps- you can get yours from either kefir-heaven.co.uk, happykombucha.co.uk or theteapot.co.uk .
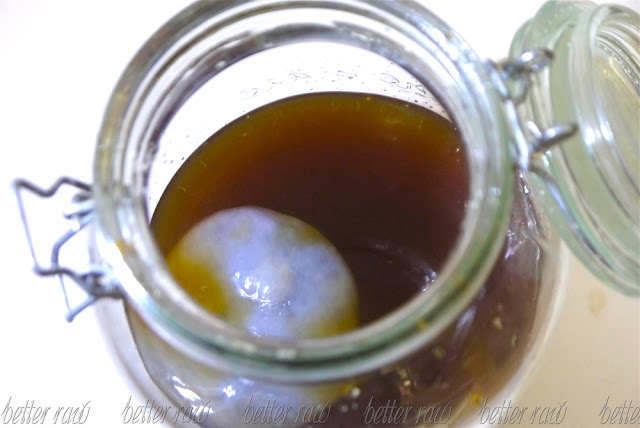
Pour the kvas/ kombucha beverage which should come with your purchased scoby or 6 tablespoons of apple cider vinegar in to the jar.
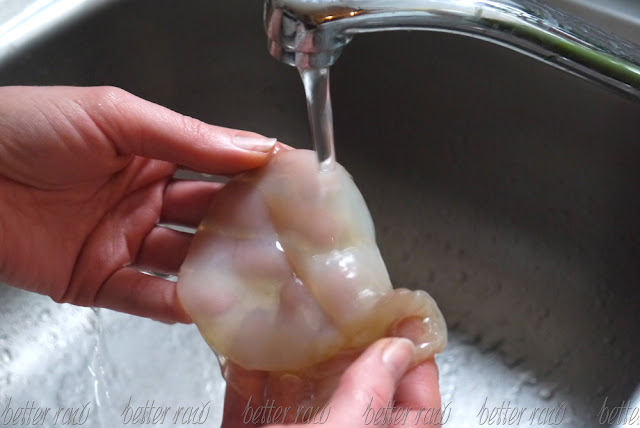
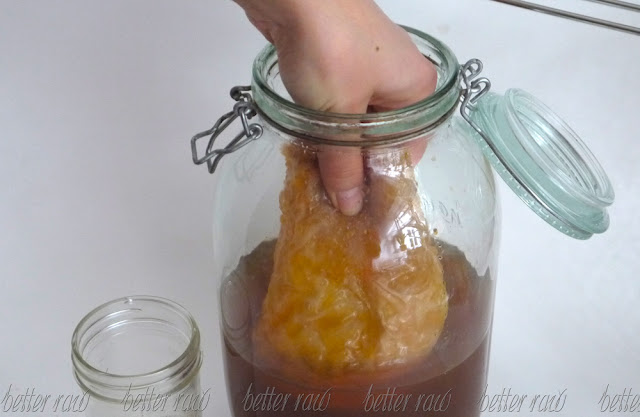
Wash the mother culture/ scoby in warm water. Notice how there is a smooth side and a slightly rough one.
Add the mother culture to the jar with the smooth side up.
If the culture sinks, make sure it has not turned over.
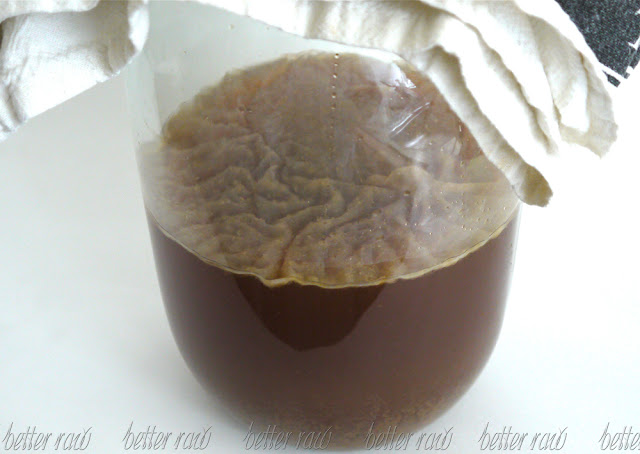
Cover the jar with a kitchen roll or towel and secure with an elastic band. Transfer to a darkish spot of your house, where it will stay out of sunlight but keep at a steady temperature of 23 degrees C. 20-25 degree range is fine.
Here's a picture taken on Day 5, but you will notice a new layer begin to form in the jar from around Day 3. This is the new scoby or daughter culture forming, it will be as large as the surface of the jar you use.
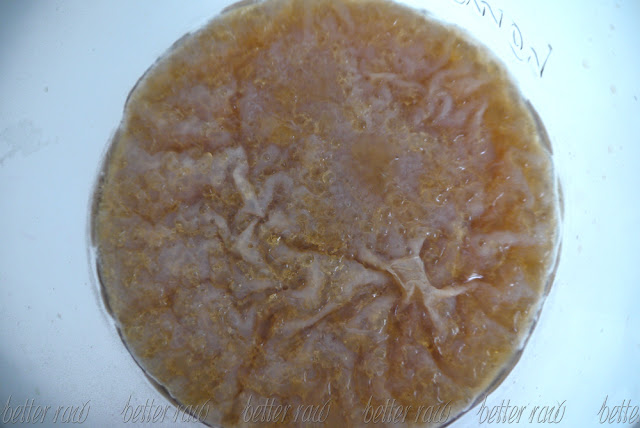
Here is an image taken on Day 9, looking into the jar. Kombucha is drinkable on approximately Day 8-10. Try a few variations, it is really fun to experiment, until you find your perfect tea, sugar, temperature and the amount of fermentation days.
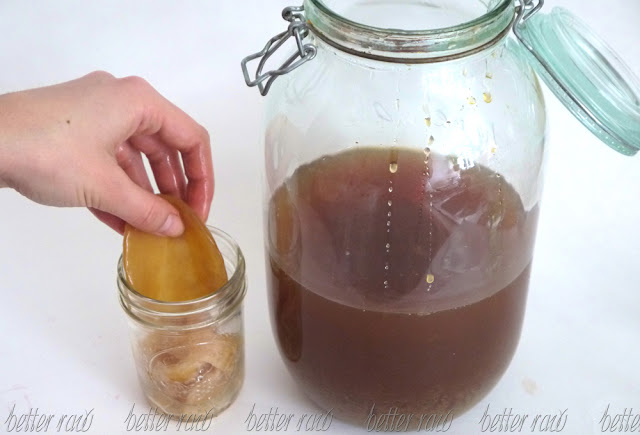
You can see that my mother culture changed colour because of the sugar that I used. This is absolutely fine and it can be reused over and over again.
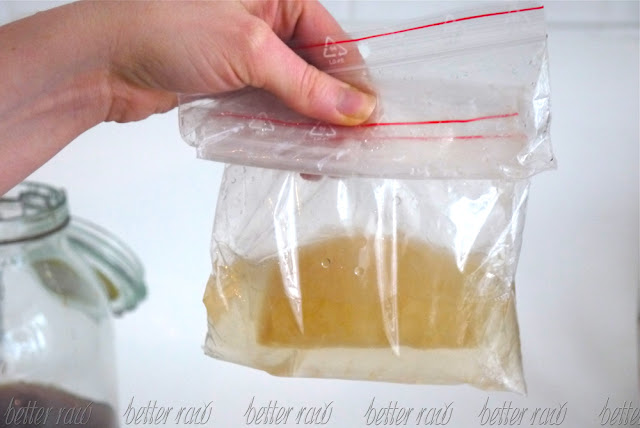
Transfer both scobies into a smaller container to keep and use later (both can now be used on different new batches of kombucha).
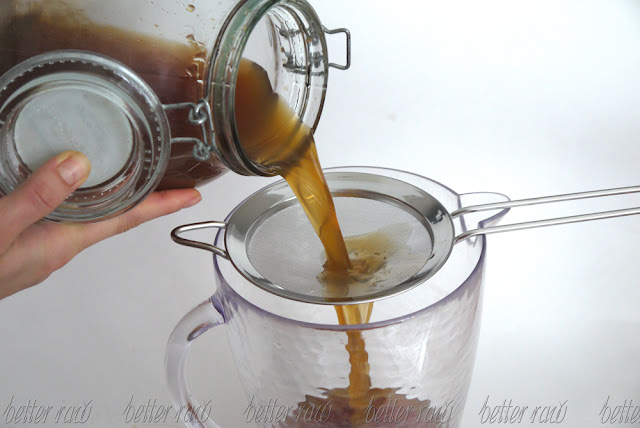
Strain the mix for a smooth and yummy drink, which is ready to consume right away.
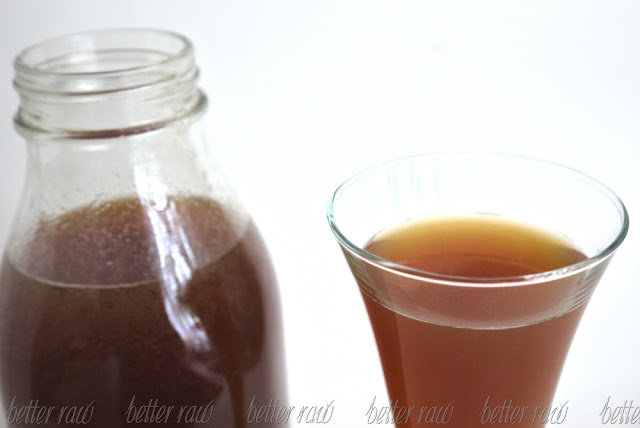
To store your ready kombucha- refrigerate it in an a sealable glass bottle and remember to keep some with the culture if you want to re-use it. Your next batch will be made with either of the mother or daughter cultures and 200ml of your homemade kombucha this time.
Enjoy it chilled at a dinner party as a mega healthy wine alternative, which could still pass to look like a white wine (if white sugar used) or take 250ml as a medicinal drink every morning on an empty stomach.
Have you made Kombucha before? Or at least tasted it?
Share your views in the comments...
