The Calcium Question plus Almond Milk & Superfoods Smoothie


[Festival of Life is the largest annual Raw Vegan event in Europe and this year there were 68 presentations and workshops from amazing inspiring speakers, 100 eco vegan stalls and an uplifting conscious dance party]

I was glad to hear David Wolfe also speak in depth about this issue at his ‘Best Ever You’ Event when he was in London just last week. That's me with the Nutrition Superstar himself...

THE CALCIUM QUESTION
Truths, Myths and Facts about Dairy, Soy and Nut Milks
WHAT DO I NEED FOR STRONG BONES?- Calcium as you’ve all heard, but that is part of the solution
- Bones are made of 12+ minerals, not just one
- Osteoporosis is defined as ‘loss of minerals from bones’, not ‘calcium deficiency’
- The right calcium- supplements are NOT the answer. In fact if you heard David Wolfe speak of bad calcification, you already know that by taking calcium supplements and eating calcium ‘enriched’ foods, you’ll build up excess of it in your system coupled with mineral deficiencies and imbalances that will cause plaque in arteries, thyroid hormone resistance, kidney stones, gallstones, osteoarthritis, obesity, Type 2 diabetes and the list goes on.
- Vitamin D- important to absorb the calcium, now all we need is the sun (pleeease London)
- Exercise- the more the bone is stressed, the more calcium is absorbed from the bloodstream, the more rigid structures are formed in bone cells creating the bone matrix and the stronger the bone gets
SO DAIRY MILK THEN?
There are several clues as to why Dairy should be the LAST resort, but there is even MORE scientific proof
Clue #1- We are the ONLY species that drink milk from another species. Have you thought of that before?Clue #2- We are also the ONLY species drinking milk past infancy. Lovely
Clue #3- Dairy consumption is on the increase, but so is Osteoporosis
Clue #4- Dairy is the largest industry in the world bringing some serious cash to the economy, would our governments then ever tell us the truth?
It's true that cow’s milk is very rich in calcium and other nutrients- it is afterall designed to build a WHOLE COW. But we share no anatomical similarities with a calf and have no evolutionary relationship with it either.
We also tend to drink Dairy pasteurised and/or homogenised! This process kills many vital nutrients, makes it difficult to absorb any minerals and allows for less hygienic environments to live stock.
I’m not done :) Most calcium in dairy is wrapped in casein (used in industrial glue and pain thickeners). To split casein and get to the calcium we need rennet. This enzyme is produced in stomachs of young mammals, but as for humans- only for the very FIRST month of our lives!
SO HOW ABOUT SOY?
Oh dear. There are now so many problems arising from cow’s milk, that Soy is what's made itself known as a ‘healthy’ solution. Then isn't this interesting..

REFERENCES
'The Calcium Lie: What your doctor doesn't know might kill you' by Robert Thompson and Kathleen Barnes
'The Whole Soy Story: The dark side of America' by Kaaila Daniel
'The Hidden dangers of Soy' by Dianne Gregg
'The Optimum Nutrition Bible: The book you have to read if you care about your health' by Patrick Holford
Fact #1 HIGH LEVELS OF ANTI NUTRIENTS
Phytic Acids in Soy block body of minerals, such as magnesium, iron, zinc and CALCIUM.
There are many enzyme inhibitors slowing protein digestion, causing growth problems and digestive issues
Cooking doesn’t help, as soy is very resistant to heat and only long fermentation will reduce the anti nutrients content (ie. Tamari, miso and netto are OK)
Phyto-estrogens closely mimic estrogen in human body, affecting levels of testosterone and impairing reproductivity
One glass of Soy milk has been shown to have the same amount of estrogen as EIGHT birth control pills
Fact #3 NOT FOR HUMAN CONSUMPTION
99% of soya bean are genetically modified and have the highest percentage of contamination by pesticide of all foods
Fact #4 SOY IS EVERYWHERE
Most products in supermarkets are made of soya and corn (they feed this to cows too!)
Most fish get farmed and fed soya/inverted corn syrup
Commercial chocolate has lecithin, which comes from soya beans
THERE IS LIGHT AT THE END OF THE TUNNEL!
GREEN LEAFY VEGETABLES- especially Collard greens, Kale, Turnip greens, but not so much Spinach, as it is very high in oxalic acid that binds with the calcium and makes calcium less available
SEA VEGETABLES- Nori, Kombu, Agar-Agar, especially Wakame
VEGETABLES- especially fibrous vegetables, Cabbage being the richest source, and Broccoli
FRUIT- Figs, Olives and Apricots
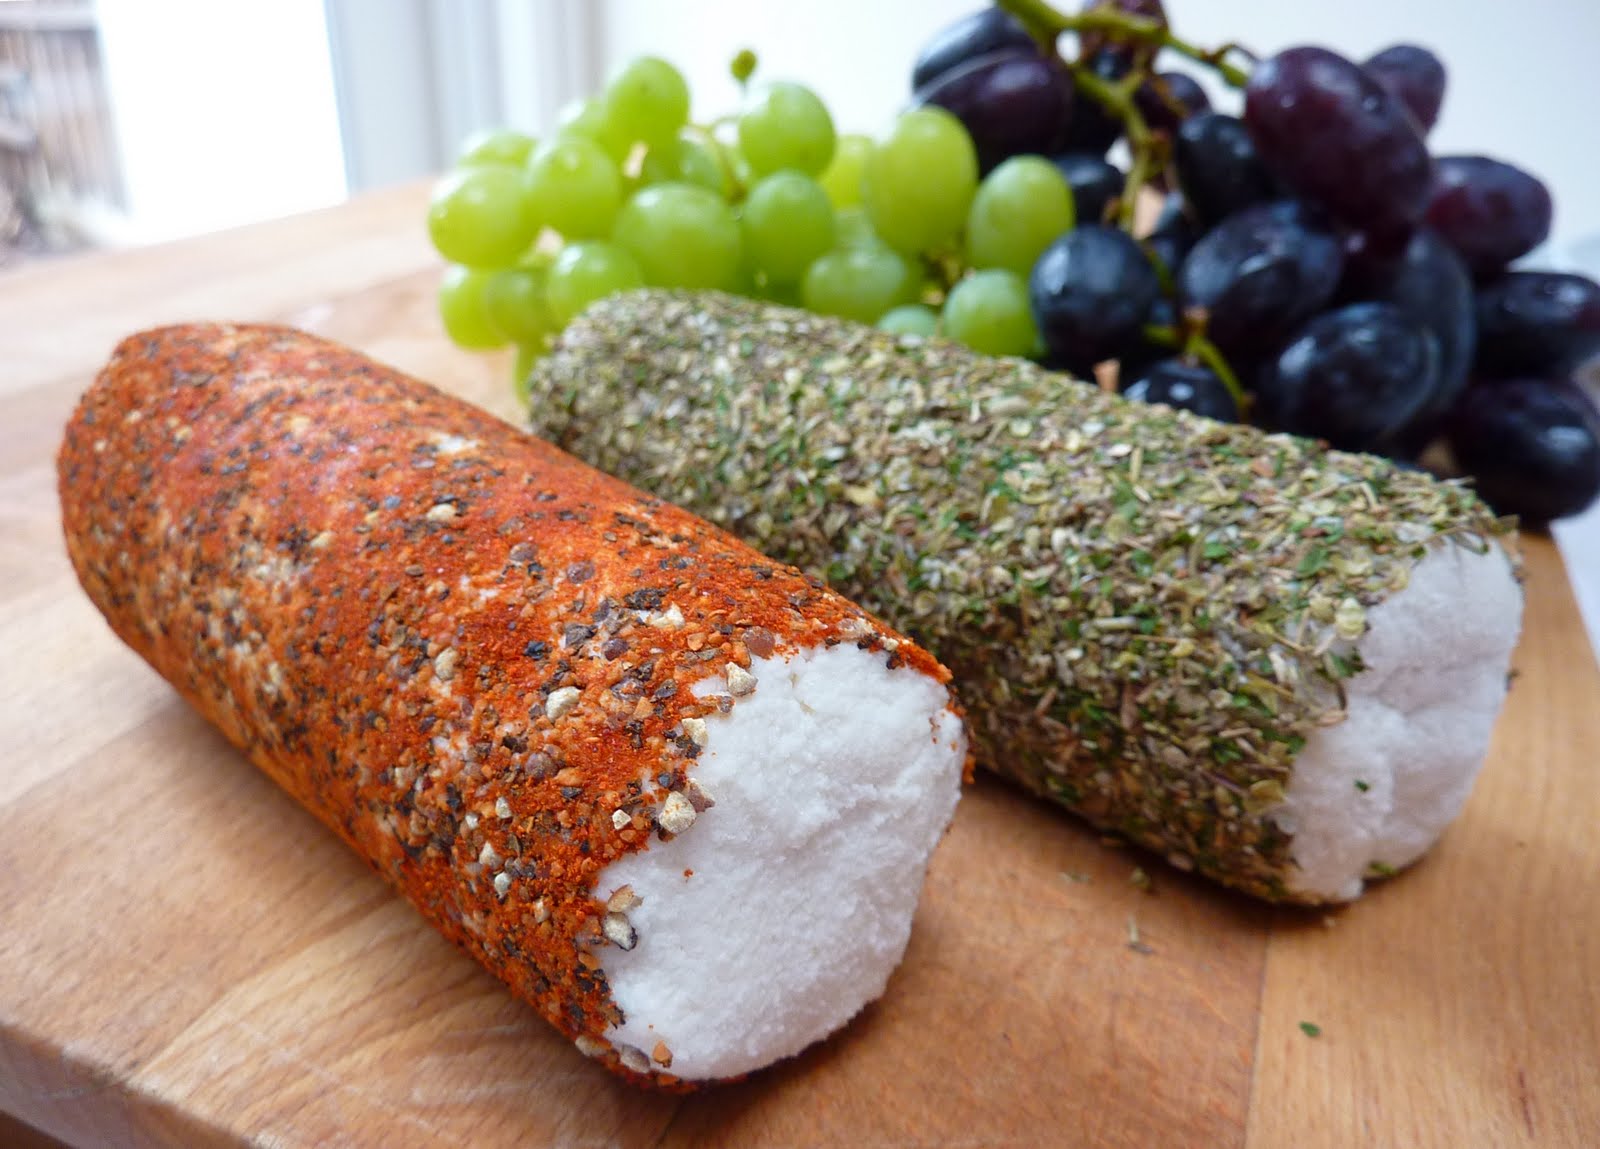
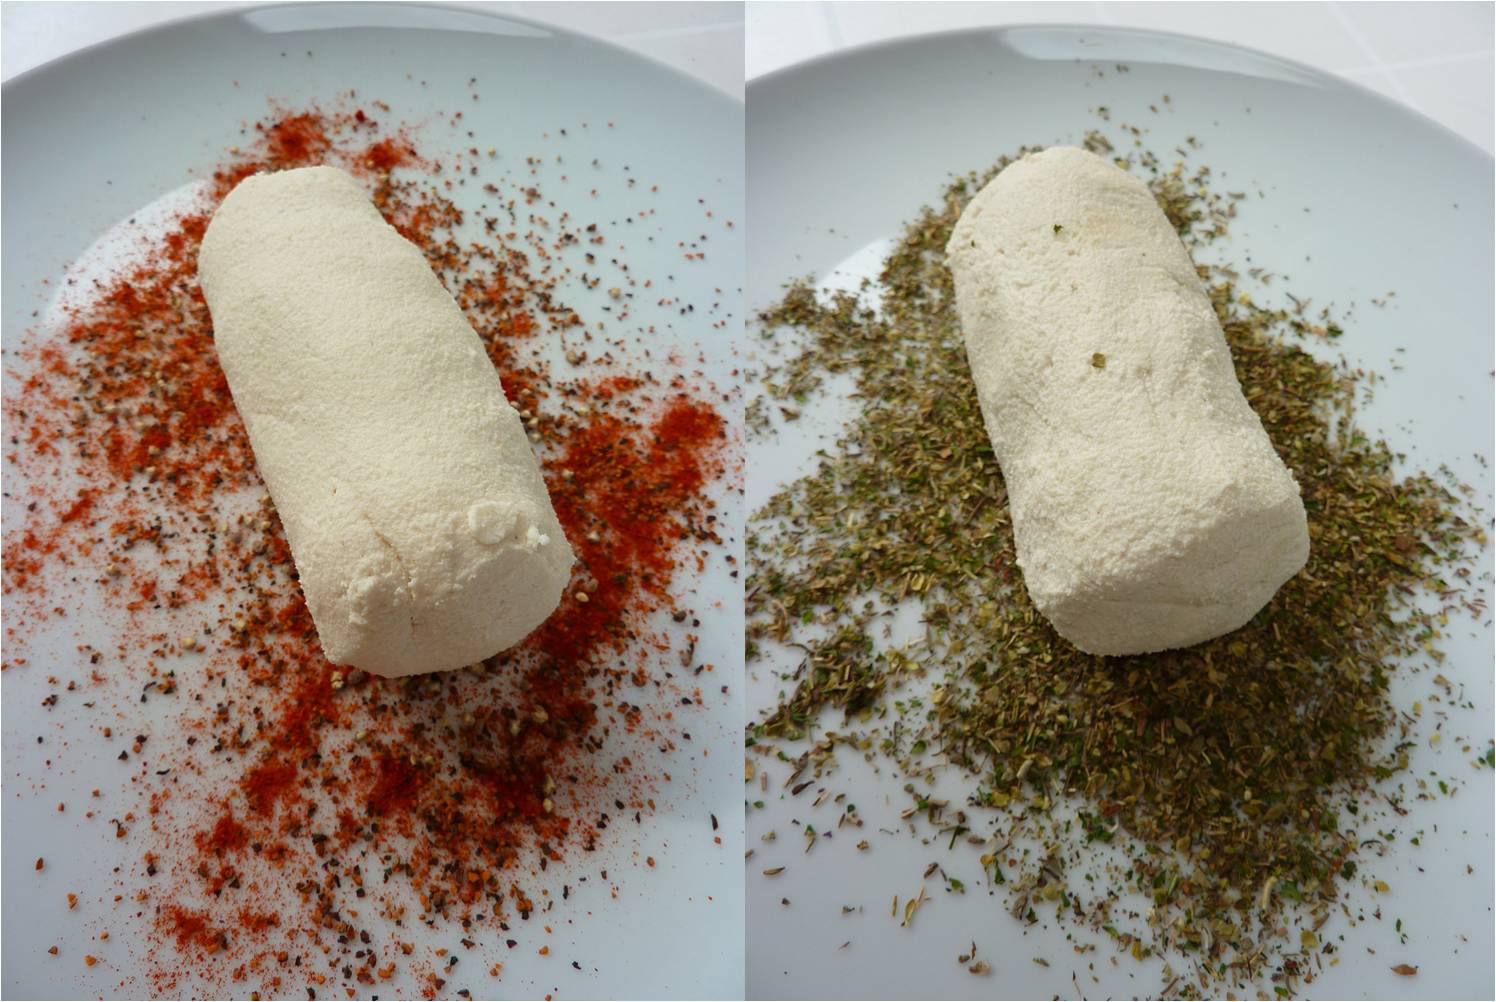
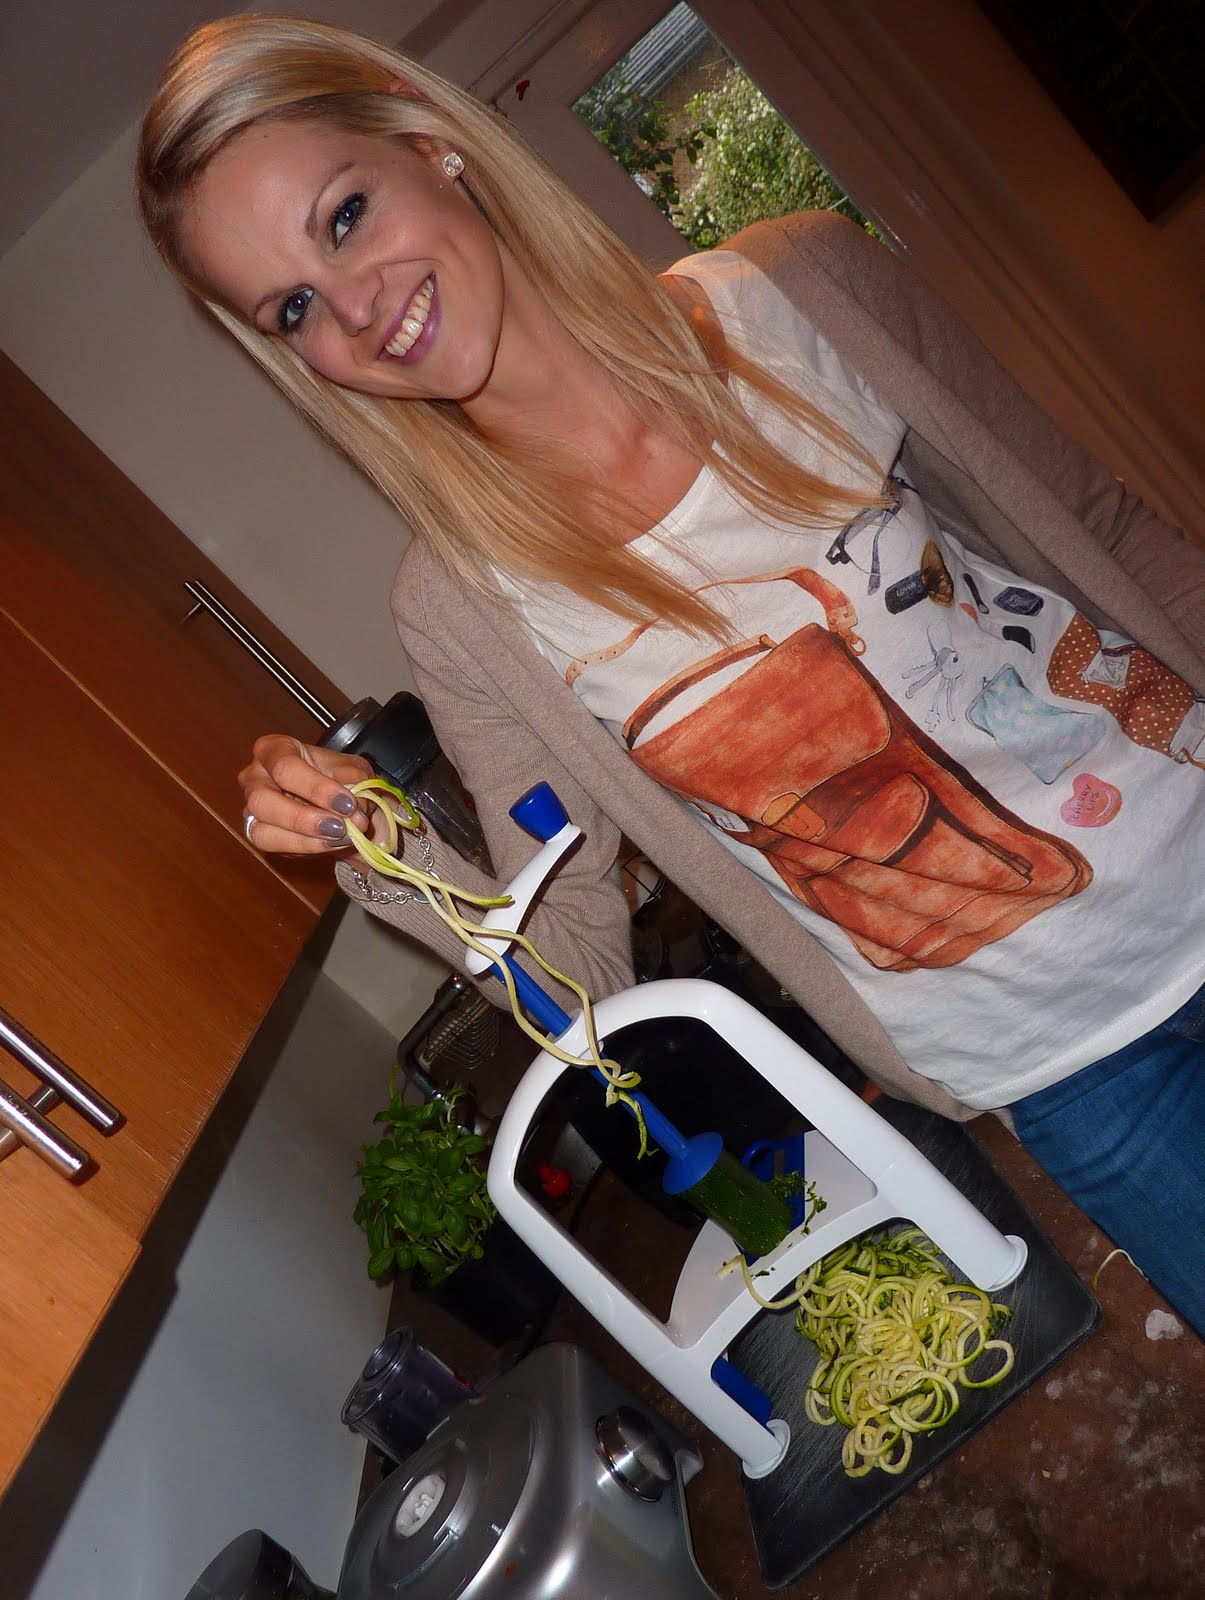
And of cause I won’t just leave it at that without giving you a recipe too, so I thought I will make a video on how to make your own Nut Milk from Almonds, as I ran out of time during my Festival of Life lecture to demonstrate this...

For the essentials
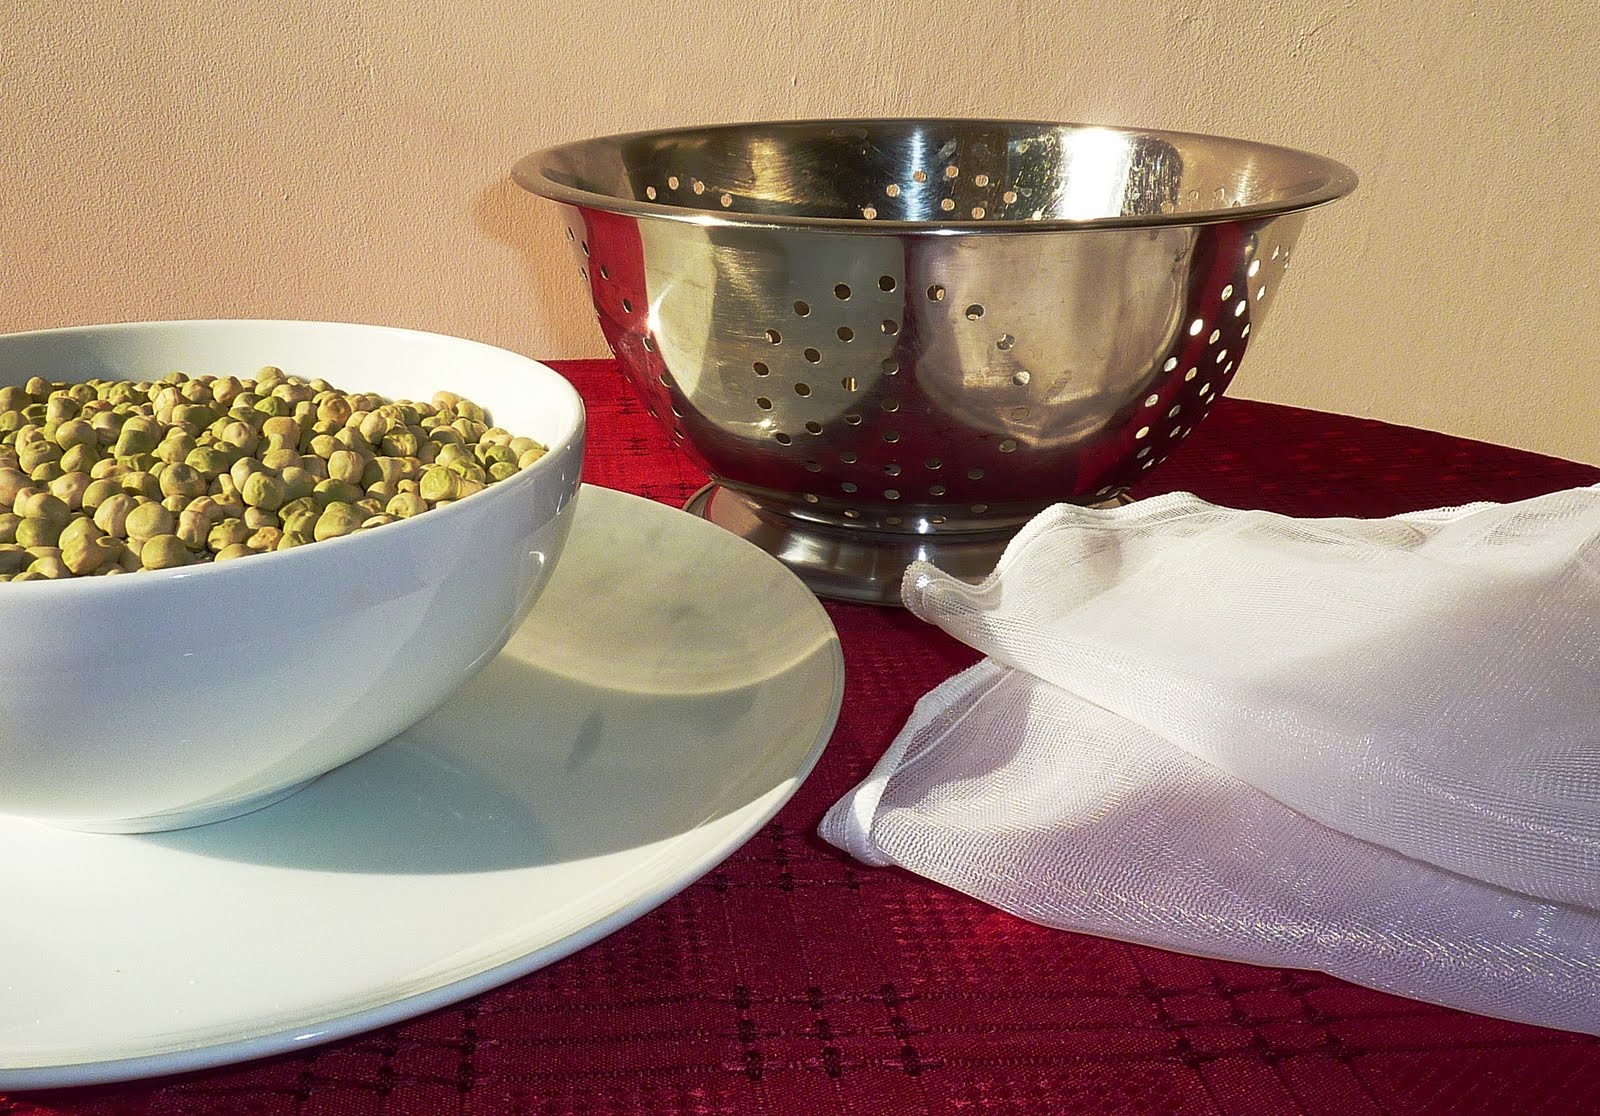
Blender
Cheese cloth/ Nut Bag/ Stockings
Almonds (soaked overnight)
Pure Water
Optional: pitted dates, sea salt
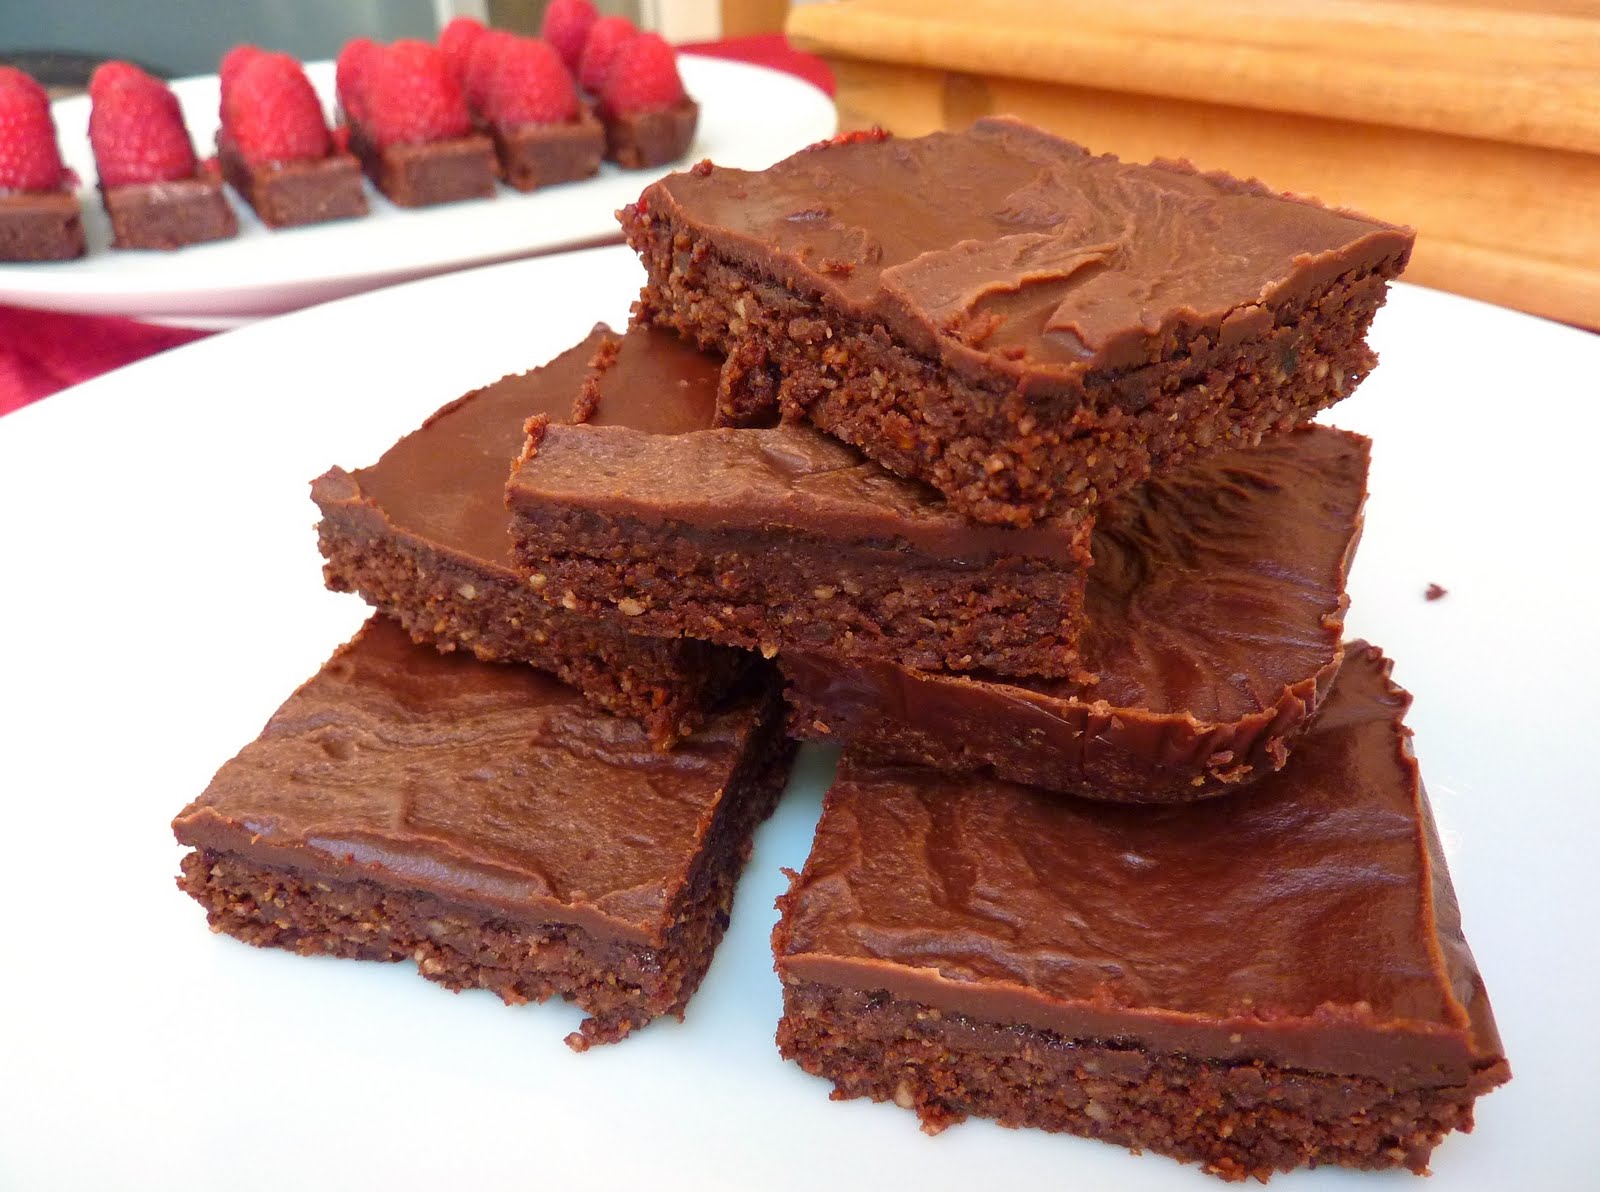
For the Superfoods Smoothie
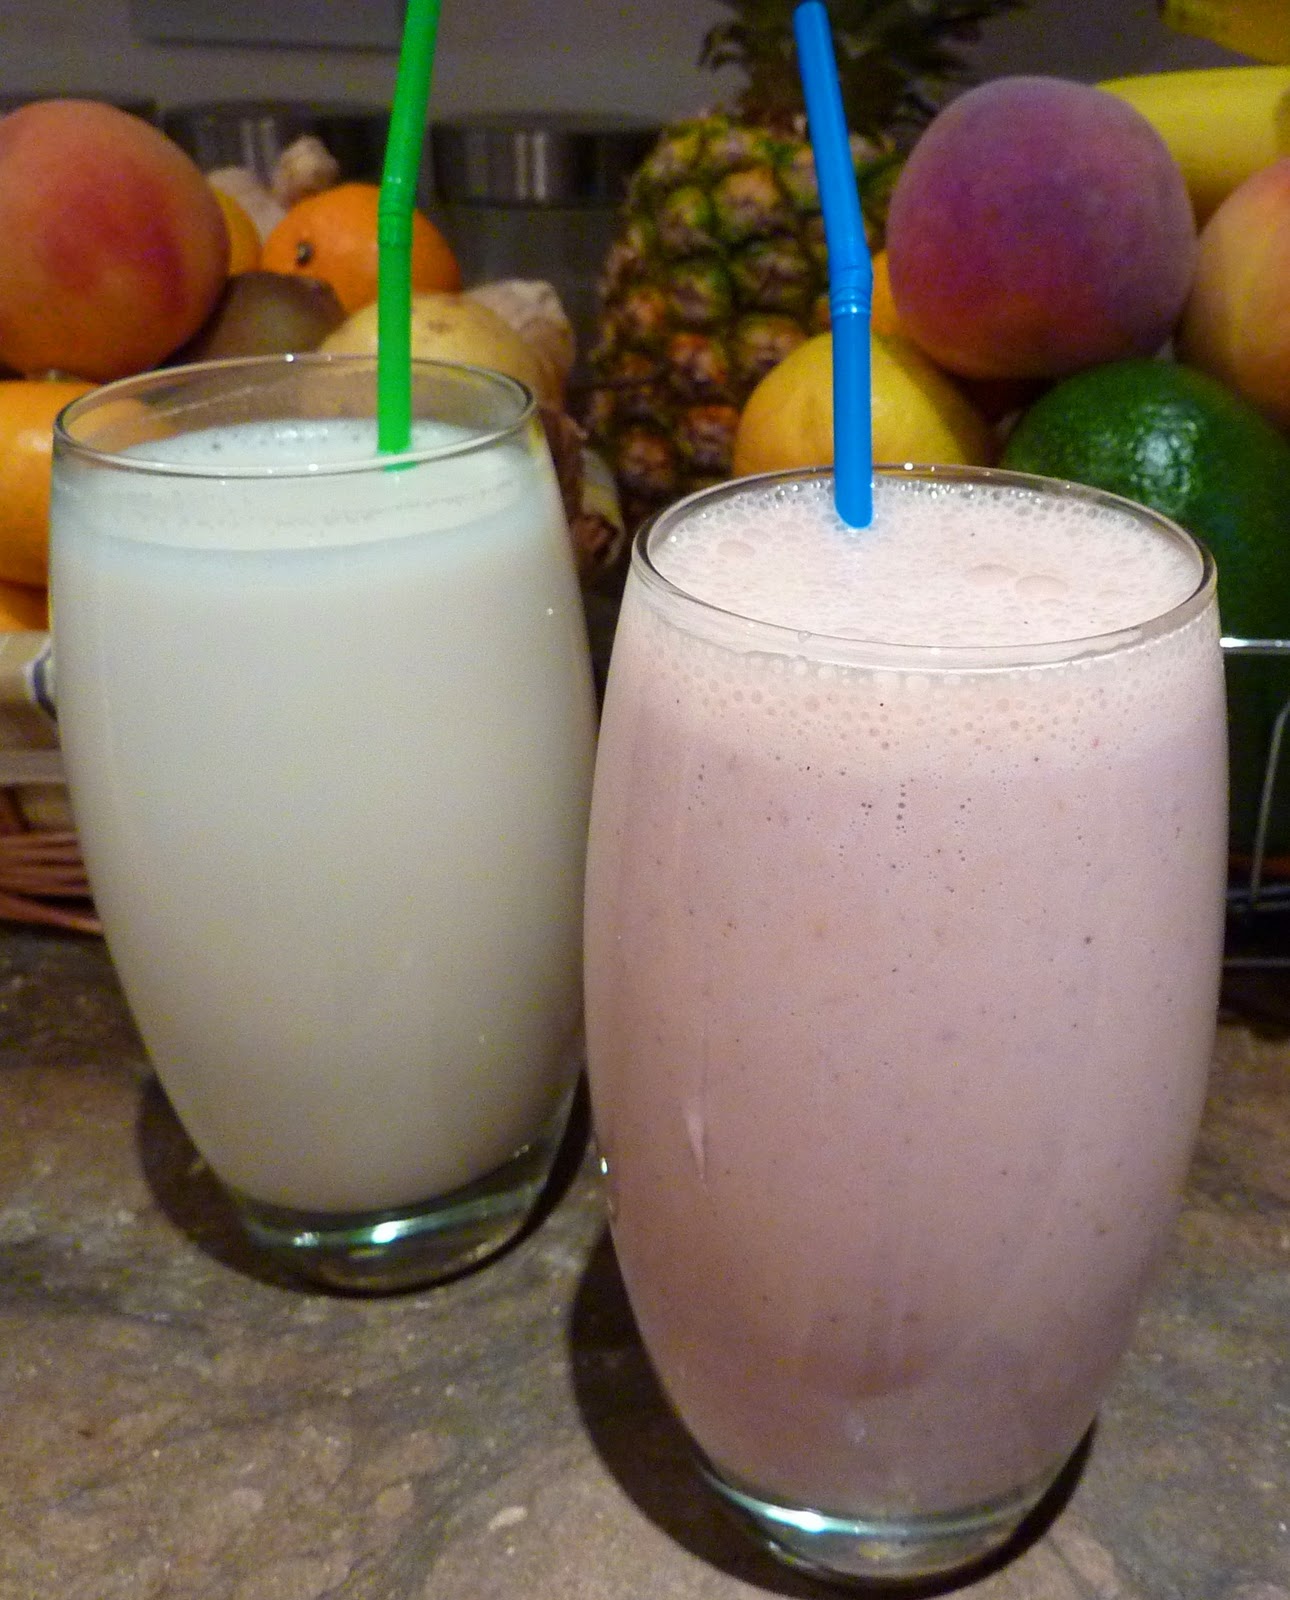
Nut Milk (from above)
Peaches
Strawberries
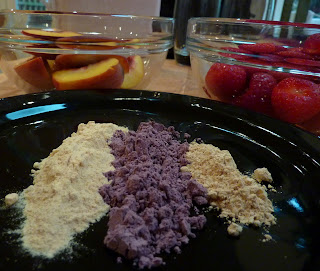
Lukuma Powder
Purple Corn Flour
Maca Root Powder
-Have straight from glass, on your cereal or any way you usually have your milk, but if you are making the Smoothie, return strained milk to the blender
-Add superfoods, then peaches and strawberries
Note: some people find Maca too overpowering, so use about half a teaspoon per cup of Smoothie
Phytic Acids in Soy block body of minerals, such as magnesium, iron, zinc and CALCIUM.
There are many enzyme inhibitors slowing protein digestion, causing growth problems and digestive issues
Cooking doesn’t help, as soy is very resistant to heat and only long fermentation will reduce the anti nutrients content (ie. Tamari, miso and netto are OK)
Fact #2 PHYTO-ESTROGENS AND FLAVONES
Flavones block the thyroid functionPhyto-estrogens closely mimic estrogen in human body, affecting levels of testosterone and impairing reproductivity
One glass of Soy milk has been shown to have the same amount of estrogen as EIGHT birth control pills
Fact #3 NOT FOR HUMAN CONSUMPTION
99% of soya bean are genetically modified and have the highest percentage of contamination by pesticide of all foods
Fact #4 SOY IS EVERYWHERE
Most products in supermarkets are made of soya and corn (they feed this to cows too!)
Most fish get farmed and fed soya/inverted corn syrup
Commercial chocolate has lecithin, which comes from soya beans
THERE IS LIGHT AT THE END OF THE TUNNEL!
And it's brighter than ever! There are many many foods that have calcium in a more bio- available form than Milk AND will give us even more nutrients and minerals, that are needed for healthy bones...
SEEDS- Sesame seeds have the highest calcium content in the seed world, as Calcium is found in tough, hard things, like shells. Also sunflower seeds
NUTS- Many kinds, like Hazelnuts and walnuts, but mainly Almonds and Brazil NutsGREEN LEAFY VEGETABLES- especially Collard greens, Kale, Turnip greens, but not so much Spinach, as it is very high in oxalic acid that binds with the calcium and makes calcium less available
SEA VEGETABLES- Nori, Kombu, Agar-Agar, especially Wakame
VEGETABLES- especially fibrous vegetables, Cabbage being the richest source, and Broccoli
FRUIT- Figs, Olives and Apricots
And of cause I won’t just leave it at that without giving you a recipe too, so I thought I will make a video on how to make your own Nut Milk from Almonds, as I ran out of time during my Festival of Life lecture to demonstrate this...
ALMOND MILK AND SUPERFOODS SMOOTHIE
For the essentials
Blender
Cheese cloth/ Nut Bag/ Stockings

Jug
For the MilkAlmonds (soaked overnight)
Pure Water
Optional: pitted dates, sea salt
For the Superfoods Smoothie
Nut Milk (from above)
Peaches
Strawberries
Lukuma Powder
Purple Corn Flour
Maca Root Powder
-Follow the 4:1 ratio and use 4 Cups water to 1 Cup Soaked Nuts. Decrease the water amount for a creamier milk
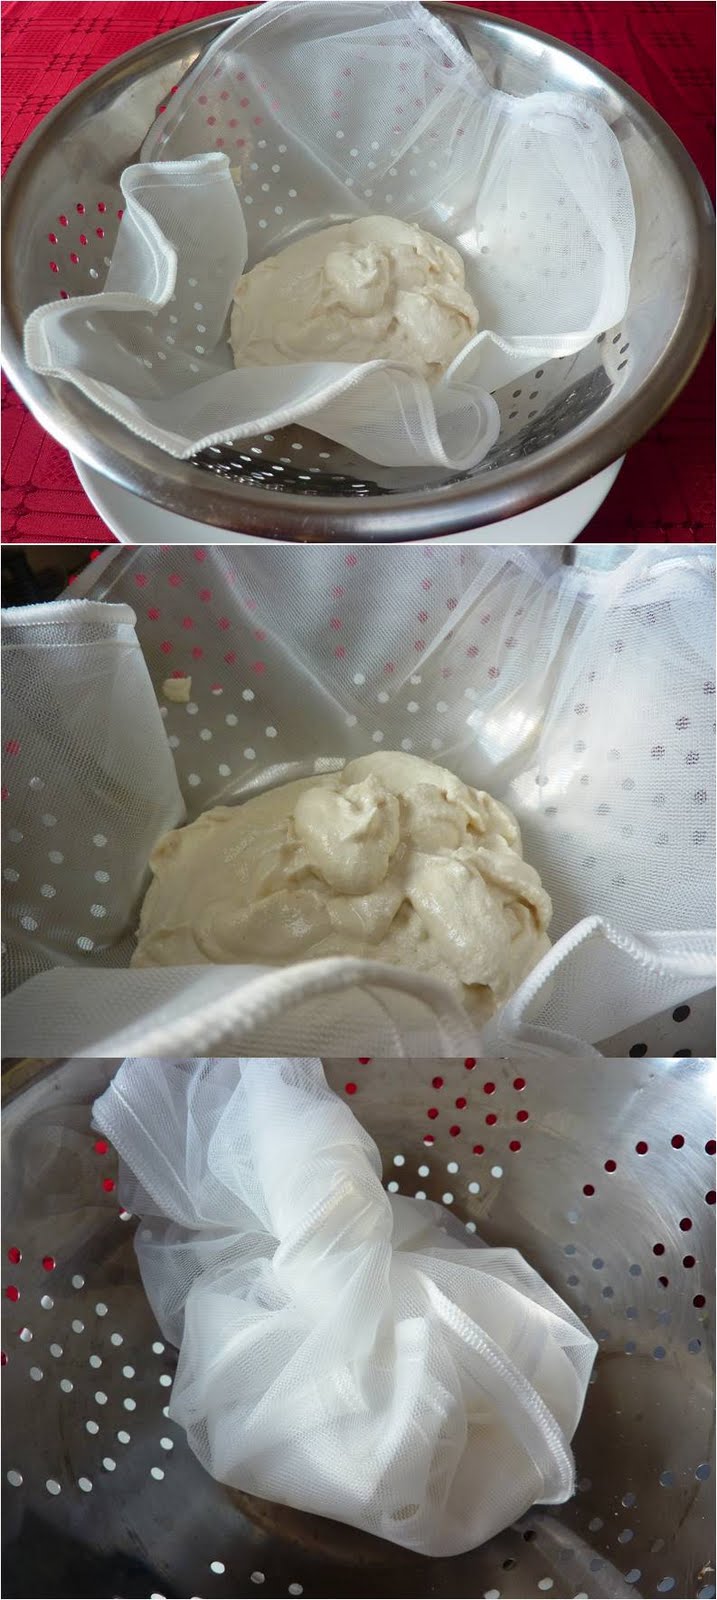
-Put nuts and water in the blender
-If using, add dates (about 2 per one cup of nuts) and pinch of sea salt
-Blend until smooth and strain-Have straight from glass, on your cereal or any way you usually have your milk, but if you are making the Smoothie, return strained milk to the blender
-Add superfoods, then peaches and strawberries
Note: some people find Maca too overpowering, so use about half a teaspoon per cup of Smoothie
And here's the YouTube video: https://www.youtube.com/watch?v=ZM1BMm-bpYA&t=32s
REFERENCES
'The Calcium Lie: What your doctor doesn't know might kill you' by Robert Thompson and Kathleen Barnes
'The Whole Soy Story: The dark side of America' by Kaaila Daniel
'The Hidden dangers of Soy' by Dianne Gregg
'The Optimum Nutrition Bible: The book you have to read if you care about your health' by Patrick Holford


.JPG)