0 Cart
Added to Cart
    You have items in your cart
    You have 1 item in your cart
    Total
    Check Out Continue Shopping
    Blog Menu

    The Best, The Original, The Healthiest, The Raw ... Strawberry Cheesecake

    The Best, The Original, The Healthiest, The Raw ... Strawberry Cheesecake

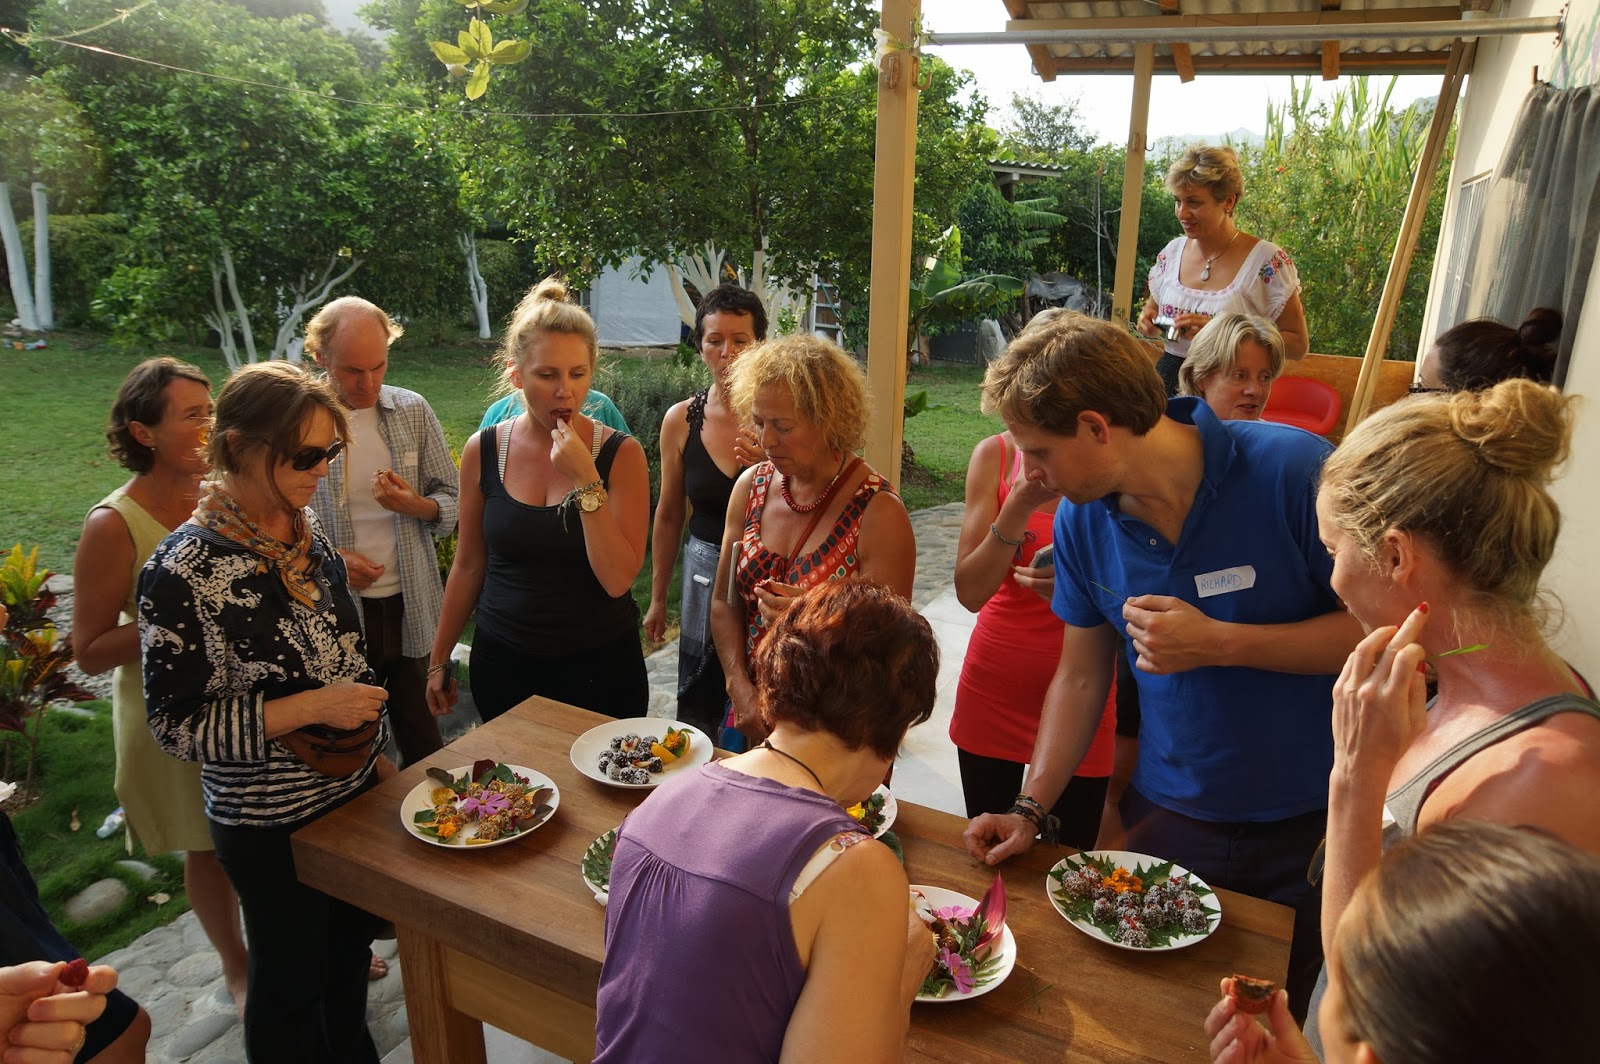
    I love me a little cheesecake. Sometimes I love me a lot of cheesecake. But either way, my freezer usually has some sort of cheesecake inside it, you know- for a rainy day.

    P1120565

    All you have to do is enter 'cake' or 'cheesecake' into the search box on this site, just to see how many recipes I've already posted here of my sweet creations. But no matter how many flavours I could try, nothing quite beats the original: strawberry is the best ever!


    RAW FOOD STRAWBERRY CHEESECAKE

    Serves 12

    Cheesecake _ Strawberry Raw Food Cake by Tanya Alekseeva 1

    For The Equipment
    Blender
    Food processor
    Stove + small pot
    9 inch adjustable bottom cake tin

    For The Base Layer
    1 cup pitted dates, soaked for 2 hours if too dry
    3/4 cup Brazil nuts
    1/2 cup desiccated coconut
    1/3 tsp Himalayan salt

    For The Cream Layer
    2 cups cashews, soaked overnight
    1 cup coconut oil, gently melted
    1/2 cup lime juice (about 2-3 limes)
    2/3 cup xylotol
    2 Tbsp vanilla extract
    optional: water as needed

    For The Strawberry Layer
    1 Tbsp Agar Agar
    1/2 cup pure water
    2 cups fresh strawberries
    1/3 cup coconut oil, gently melted
    5 medjool dates, pitted
    1 Tbsp coconut sugar

    – Make the base first by placing all the ingredients into a food processor with a S blade. Pulse until the mixture starts to form into one big sticky ball. Transfer into a cake tin and press it down with your fist to form a crust.

    – Place all the Cream Layer ingredients into a blender and blend to a smooth creamy consistency. Leave the water out if you are using a high speed blender, but for an ordinary blender you may find that it helps the machine to work better with a little added water. Pour the cream over the crust and transfer to the freezer.

    – Mix Agar Agar with 1/2 cup of water in a small pot, bring to boil and stir for 2-3 minutes until Agar flakes dissolve entirely. Pour this gelatinous liquid, as well all other Strawberry Layer ingredients into a blender. Blend on high until creamy and pour it over the cake.

    – Transfer to the freezer for 3 hours to set and let it remain there if you don’t plan to eat the cheesecake straight away. You can eat it right out of the freezer if you like an ‘ice cream’ type cake, but for the soft creamy version, leave to defrost in the fridge for 2 hours before serving.

    Cheesecake _ Strawberry Raw Food Cake by Tanya Alekseeva

    As soon as you try the recipe, I think you'll agree with me, that it's just so much... Better Raw.

    Raw Chocolate Nut Shake + Tribest's Soyabella Review

    Raw Chocolate Nut Shake + Tribest's Soyabella Review

    I recently had an exciting opportunity to work with Tribest in order to develop and photograph a selection of recipes for their beautiful new website- www.tribest.co.ukIf you haven't checked it out yet, make sure you do- there's a whole collection of free recipes for you to enjoy!Here is the delicious list so far:
    Fruit Leathers
    Raw Chocolate Cookies
    Cheesy Kale Crisps
    Italian Flaxseed Crackers
    Antioxidant Punch Smoothie
    Energy Burst Smoothie
    Oranges and Cream Smoothie
    Raw Chocolate Nut Shake (below)
    Ultimate Beauty Smoothie
    Very Berry Summer Smoothie
    Virgin Pina Colada
    Cucumber Cooler Juice
    Down to Earth Immuniser Juice
    Kidney Supporting Juice
    The Classic Green Juice
    Prior to this project, I was already using, loving and recommending Tribest's products, such as GreenStar Elite juicer and Sedona Dehydrator. Their range is so much bigger though, that luckily for me I got to play with all of it!
    One product in particular that I want more people to know about is Tribest's Soyabella. It's an elegant little piece of equipment, which doesn't take up much bench space, looks like a stylish kettle, but is actually a nut milk maker…
    It's super easy to use. I just soaked my almonds in water overnight, exactly as I always do when using the blender+strainer method. As you can see below, Soyabella has all the measurements indented inside and on the grinder cup, so you'll always know where to aim for that perfect homemade milk...
    The motor head has a patented helical grinding blade and you simply insert it into the grinding cup. The downside is that you can't load it with too many nuts at once or you'll never get this blade in. I had to wiggle and shake my way in with the blade to make sure that it's screwed onto the grinding cup properly. After a couple of times, this becomes second nature. You then imply lower the blade head + grinding cup into the body...
    I love it how this isn't rocket science and you can work out what to do without any instructions, rather using very clearly marked buttons. The cord is also detachable, which has come in handy when I packed up my Soyabella to take along to workshops and also to store nicely on my kitchen bench.
    After 3-4 whizzes (this was literally a total of 40 seconds, no more), you have a ready creamy and delicious nut milk right inside the jug, while the nut pulp stays in the grinder cup. It's easy to pour, easy to clean and the milk is quite possibly the tastiest I've had after using a variety of different methods to produce it...
    Favourite part:
    Aside from a clean, easy, no-fuss, no-mess way to make my nut milk, I love it that I can use Soyabella for making my hot chocolates! There is no cooking involved, so I can still have my hot chocolate drink- raw, but since I'm not using my hands to strain the milk, I won't burn them either when using hot water.
    Least favourite part:
    The pulp left inside the grinder cup stays pretty wet. Sometimes this is actually the best part about this process, because I add the wet pulp directly to my other recipes, like raw cakes and cookies, however the rest of the time, I find myself using a spoon to manually press the ground up nuts into the grinder, so the rest of the liquid can seep out of the tiny holes.
    The verdict:
    Get it! It's affordable, it's stylish, it's easy to use and produces delicious, raw, healthy, lactose-free, nutrient-rich nut milks. Tribest are also offering my readers a generous 25% off of any of their products including this baby, until 31st December 2013. Just use the code TANYA25 in your shopping basket! Check out what else you can get discount codes on before the end of the year, here>>
    And as for a recipe that you could make with a nut milk, try this crazy tasty…
    RAW CHOCOLATE NUT SHAKE
    Serves 2

    2 cups hazelnut milk
    2 bananas, peeled and frozen
    3 medjool dates, pitted
    3 tbsp cacao powder
    1/2 tsp cinnamon
    optional: 1/2 tsp vanilla bean powder

    – Transfer all the ingredients into a blender and blend on high.
    – Serve immediately.

    Tanya’s Top Tip: You can use any non dairy milk here, but I chose hazelnut, because there is just that something so dreamy about the hazelnut and chocolate combination. Make your own nut milks by using Soyabella.

    Vilca balls - an award winning energy ball recipe


    As I type this sentence, we are now well and truly into my Raw Food & Soul Adventures Retreat in Vilcabamba, Ecuador. 

    Every day has been jam packed with adventure, workshops, excursions, laughter, detox, yoga, meditation and food, glorious raw food!

    Something in particular, which was a heap of fun for everyone- also happened to be the activity during which I came to the conclusion, that we have a group of creative geniuses on our hands…

    An energy ball competition!

    First, I had everyone pull a team name out of a 'hat'. 
    Teams were either Macadamia, Pumpkin Seed, Walnut, Sunflower Seed, Almond or Brazil Nut.


    Then I introduced all the ingredients that everyone would get the chance to play with. These included everything from Goji berries and Dates, to a whole variety of Superfood powders, like Baobab, Acai, Spirulina, Barley grass, Violet Fig powder, Raspberry powder and about 15 others. 


    They were to be judged on taste as well as presentation and everyone was encouraged to forage through my parents' garden for decorations.


    Plate decoration in process:


    Energy ball mixing in process:


    The teams then presented their recipe to the group.


    And then everybody tasted and casted one vote for the best decorated plate and one vote for the best tasting ball:


     I'm only glad I didn't have to make that decision, I would've struggled big time! Just take a look at all the creativity that went on:


    I've no idea how they managed to choose with all that variety, but we had a clear winner on all accounts:


    The gorgeous Sue, Suzanne and Bill wowed all 17 participants with their taste pairing. And luckily for us, they were only happy to share their 'Vilca Balls' recipe with Better Raw readers too!

    VILCA BALLS
    Makes 30 small balls

    1 1/2 cup pumpkin seeds, soaked 2-8 hours
    1 cup sesame seeds
    1 1/2  cup dates, soaked 2-8 hours
    1/2 cup cacao powder
    1/2 cup Goji berries
    1 Tbsp Acai berry powder
    2 Tbsp Spirulina
    Desiccated coconut for rolling in

    -Put all the ingredients, apart from desiccated coconut, into your food processor and process until well combined.
    -Roll into equal sized balls and coat in coconut.
    -Serve right away or dehydrate for 5 hours so they last longer and get a dense chewy texture.

    Mango dairy-free ice cream recipe and some other dessert photos to make you salivate


    I had to come all the way to Vilcabamba in Ecuador to be reminded of where my sweet tooth came from.

    My mum is the sweetest person I know, in every sense of the word. And she has the desserts to prove it!

    Kiwi- our Ecuadorian sausage, me and my mum.

    My 'welcome back' treat of almond balls coated in creamy cacao paste.

    Some of the balls had pumpkin seeds. Perfect is the combo of seeds, honey and coconut oil.

    Breakfast. No joke.
    Some swirly magic of sesame paste, raw chocolate and cacao brownie layers.

    I don't know what to tell you about this Cherimoya pudding.  But if you could taste it, you'd agree that it's worth flying all the way to Vilcabamba for.

    And this is Cherimoya herself. 

    This Bananas and Chocolate dessert was from Kitzia's Saturday market, but made it to my collage of 'sweetening up in Vilca' here.

    And Mum's Ecuadorian mango ice cream is off the charts! This has been my most requested recipe from all Facebook, Instagram and Twitter posts, so here it is...


    MANGO ICE-CREAM

    2 ripe mangos, peeled and frozen
    1 cup macadamia nuts
    3 Tbsp panela syrup, liquid honey or agave
    2 tsp vanilla extract

    - Put the macadamia, your liquid sweetener of choice and vanilla extract into a Vitamix and blend until creamy, using a tamper. 
    - And the frozen mango chunks to the blender jug and blend again, pressing all the ingredients onto the blade with the tamper.
    - Scoop the ice cream into serving bowls and enjoy immediately.

    If you are more of a visual type and prefer a video, watch my short vid here>>


    How to throw a raw food party | Our engagement celebrations


    It's no secret that Elliot and I are getting married next year, but we are not done with the high of being fiancés just yet! As we got engaged in the middle the coldest winter UK has experienced since well before we were even born, it only made sense to wait for the summer to celebrate outdoors.

    THE PREPARATIONS

    We hired the lawn bowling club next door, ordered some props online, put together a canapés menu and recruited the best looking helpers in town...

    DIY decorations in the making the night before.
    The gorgeous Californian beauties and their funny mini man.
    Raw pizza and salad for the helpers.
    And the #1 prize goes to my #1 helper and bestie! Gina- you are a little cupcake of awesomeness! 


    THE FOOD

    When you are preparing raw food, it shouldn't actually take you any longer than preparing cooked food, however you must always start ahead of time to allow for the dehydration process.

    The great news about dehydrating is that you literally- pop in your trays full of food and walk away for the next 12-24 hours or so. No need to check up on anything, no need to worry about anything getting burned, and no crazy energy bills either! Have you checked out what dehydrator I use and recommend? See my entire suggested equipment list here>>

    Here's a sampling of what I made...

    Everybody's favourite- these Marinated and Pesto Stuffed Mushrooms never stick around for long, they are the best addition to any picnic and you can even serve them as a main course with a side salad.

    Dessert was surprisingly tricky to organise, as I knew it'll be sitting out in the sun, while so many raw food dishes require a fridge or a freezer. That's why I opted for Chocolate-filled Macaroons (they are usually chocolate covered and I teach the recipe in my Raw Chocolate 101 class) and Chocolate & Caramel Coated Cookies (recipe is just like these Dutch Stroopwafels, but with added cacao powder).

    Raw Food Pizza- a party must-have! The base is a classic nut-free version I always make, then goes the tomato paste, then the spreadable cheese and finished with any toppings you have in mind (or in my case- something that required minimal prep time was the winner- olives!) I also teach the making of it in my Raw Food Tastes of Italy class>>

    Dips and Dippers. ALWAYS have Dips & Dippers. For simple dippers- carrots, runner beans and celery sticks will do the trick if your dips are tasty enough, but it's always good to add some flaxseed crackers to the mix. For the Dips- I made extra Pesto while doing the stuffed mushrooms, extra Creamy Cheesy Sauce while making the pizza sauce and Guacamole.

    These mushroom nut balls and tomato ketchup are a delicious idea, possibly best kept for a more intimate dinner occasion. They take quite a long time to first soak and marinate, then process, then roll into balls and then dehydrate, but disappear in record time. Serve them with toothpicks to pin and dip or over courgette noodles if you are having them as a main meal.  


    THE PARTY

    Like any host will know- there is always something to do last minute, there is always something that gets overlooked and there is usually something that doesn't get done at all. However the great thing about it all is: nobody knows, but you!

    I mean, just look at these guys... does anyone look like they know I may have forgotten a thing or two?


    BRING ON THE WEDDING

    Our engagement do was sooooo much fun, although I reckon that was as much practice for the actual event as I will want to handle for the time being. I'm only grateful that the wedding isn't for another few months! But when the time does come, it will be the best day I am sure... 

    Just the thought of my whole family being back in New Zealand together for the first time in nearly six years, makes me emotional, but both of our families coming together for the second time since Elliot and I met, all while we have our closest friends by our side and in the same part of the world, while we say our 'I do's' -my heart may just explode. 

    Is it normal to even feel these nerves this far ahead? I will endeavour to calm them down by looking at our 'Save the Dates' and share one with you to make you smile too...