At that time of course I was pretty certain it was a boy, hence the 'he that, he this' descriptions, but it turns out Shakespeare the tortoise is in fact a lady. You can start to tell their gender around the age of three and Shakie is now a big three year old madam.
If you follow
my updates on Facebook, you might known that Shakespeare went missing 3,5 months ago from the garden. It's not a huge place, but we go get cats, birds, squirrels and foxes visiting, so anything could've happened really. But I've always known she's OK. I don't know how, but intuition is something you should just trust, not explain.
And then we see this on our neighbours' fence:
I could've sworn I stopped breathing right until the moment they got home! It turned out that they discovered little Shakes in their garden a couple of weeks earlier and took her to a near-by Vet, because that's what the tortoise forums said to do. Interestingly enough (because the universe is that amazing), there is just a handful of Vets in London who look after tortoises and one of them had to be right around the corner from us!
I ran there like Usain Bolt. Not because it was 100m away (it was further), but because it was the fastest I've ever run!
They were a little on the weary side (probably because I looked so desperately dodgy) and asked I come back with certification, photos, and any other proof that Shakespeare belongs to me. BUT when I asked to see Shakes and she nearly climbed out of her shell to rub noses with me and twitching ecstatically, no one could argue who the mummy is supposed to be.
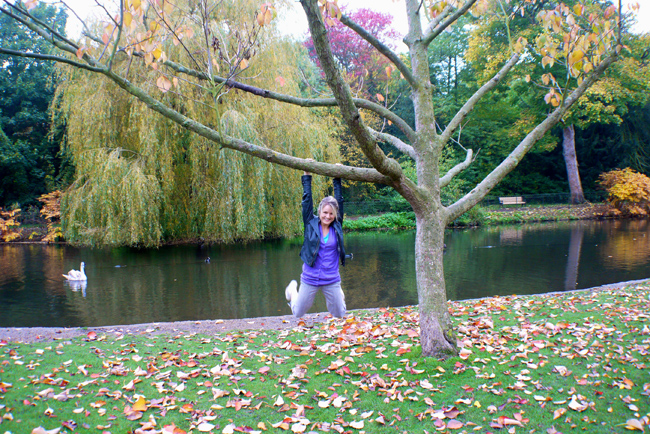
Our happy reunion when I could finally get her home after a course of injections:
Happy times. Grateful times. So I got on to creating a little thank you to my new best friends next door and decided to take snaps along the way to humour you too...
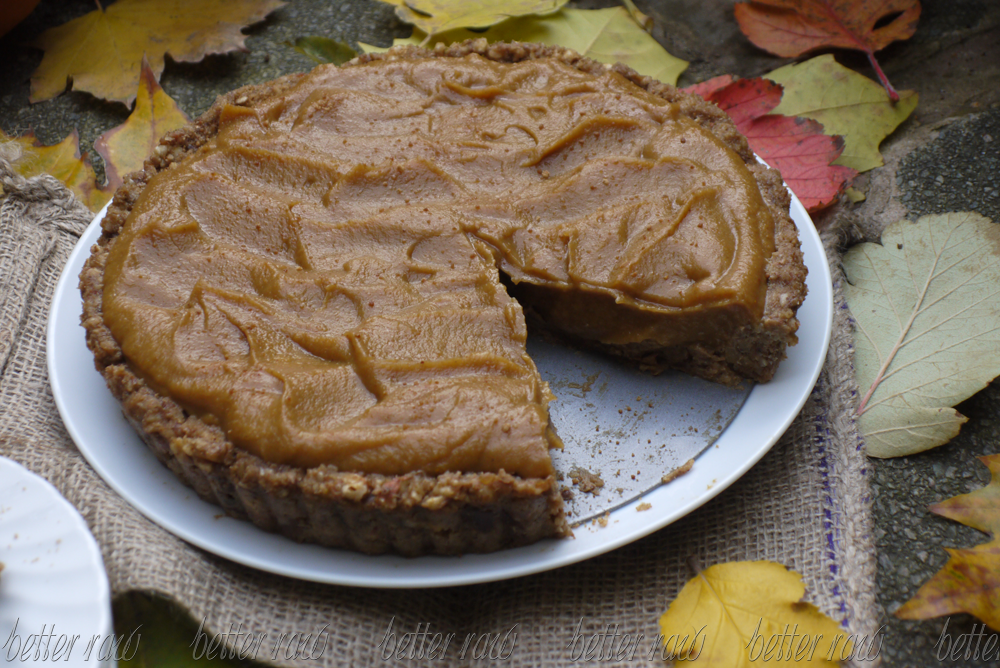
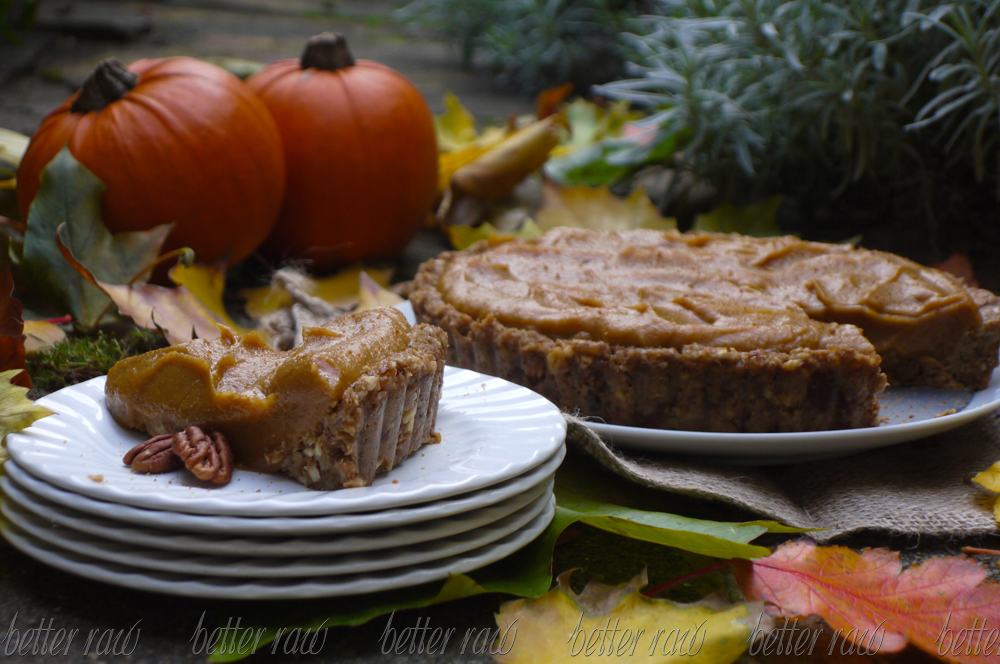
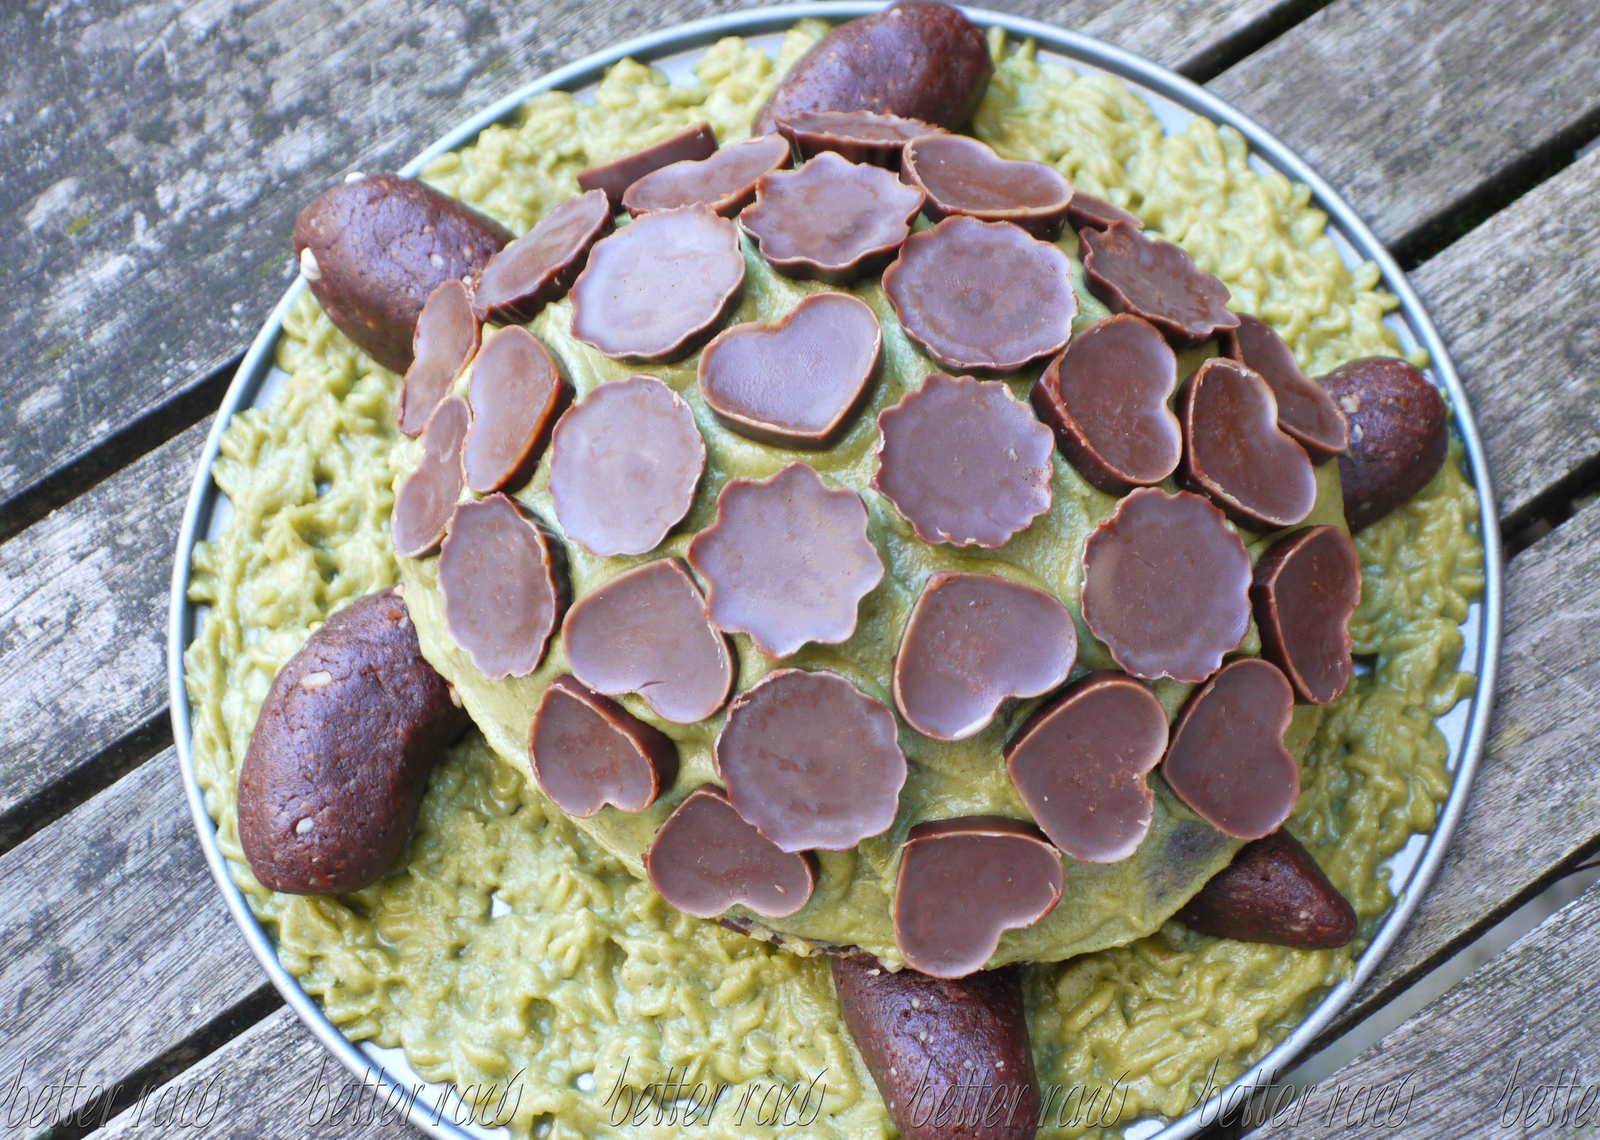
CHOCOLATE TORTOISE CAKE
It is in four parts:
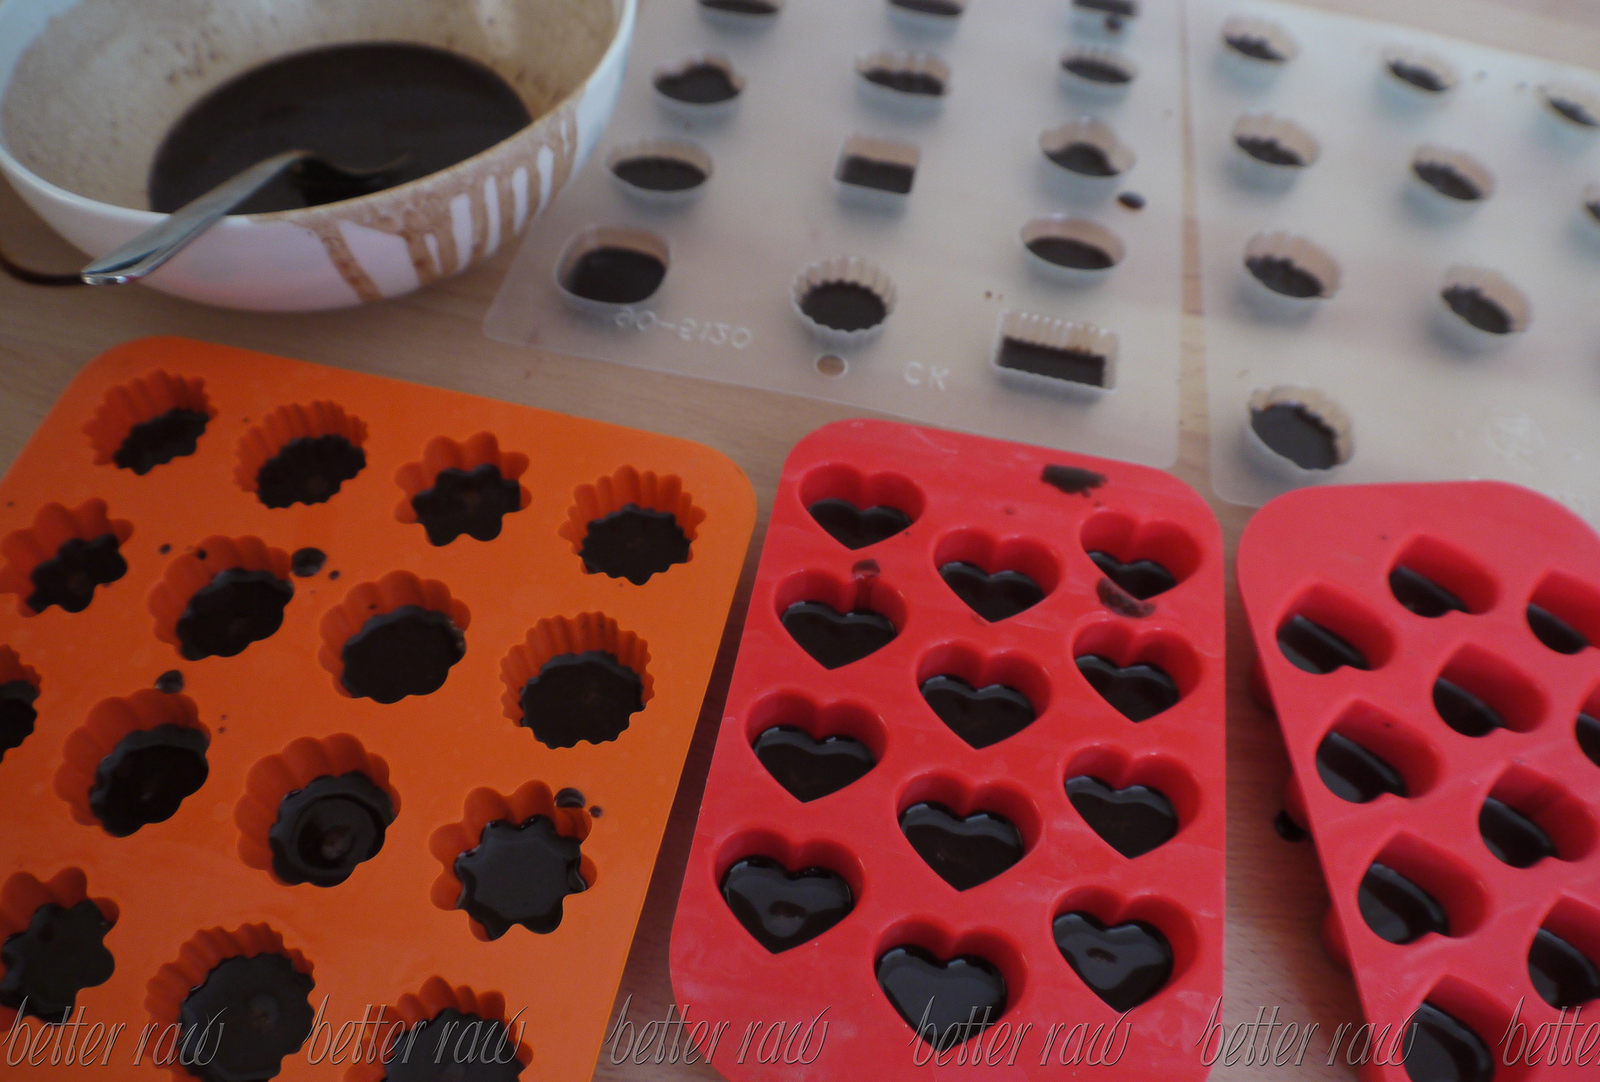
1). Begin by making raw chocolates for the tortoise shell shapes. I used
my dark chocolate recipe with an added tablespoon of coconut oil for a milky taste. Fill the moulds only half way, so you won't get a weird chunky looking shell later. Leave to set in the fridge.
2). Start making the
cashew icing in a blender. Add a teaspoon of barley powder for a green colour at the end and blend again. You can also use any other green powders, like spirulina or chlorella, but watch the amount, as the taste can be super strong.
3). For the platform of my tortoise cake, I used a 9 inch cake tin base. Fill a piping bag with the green icing and choose a nozzle with rugged edges, so it can resemble grass as much as possible. Cover the base, leaving the middle bare since you won't see that part. Refrigerate to set.
4). Next stage is making the body parts. I used my chocolate fudge recipe from '
Festive- The Best Raw Food Christmas Recipes'. It is one that always turns out perfectly pliable and works just like play-doh to shape in to anything.
5). When making the head, arms, legs and tail, it's important to leave a small chunk for the middle. This is so that when you place the tortoise shell on top, it won't cave in and crumble. I also used two sunflower seeds for each eye and outlined the mouth with a butter knife.
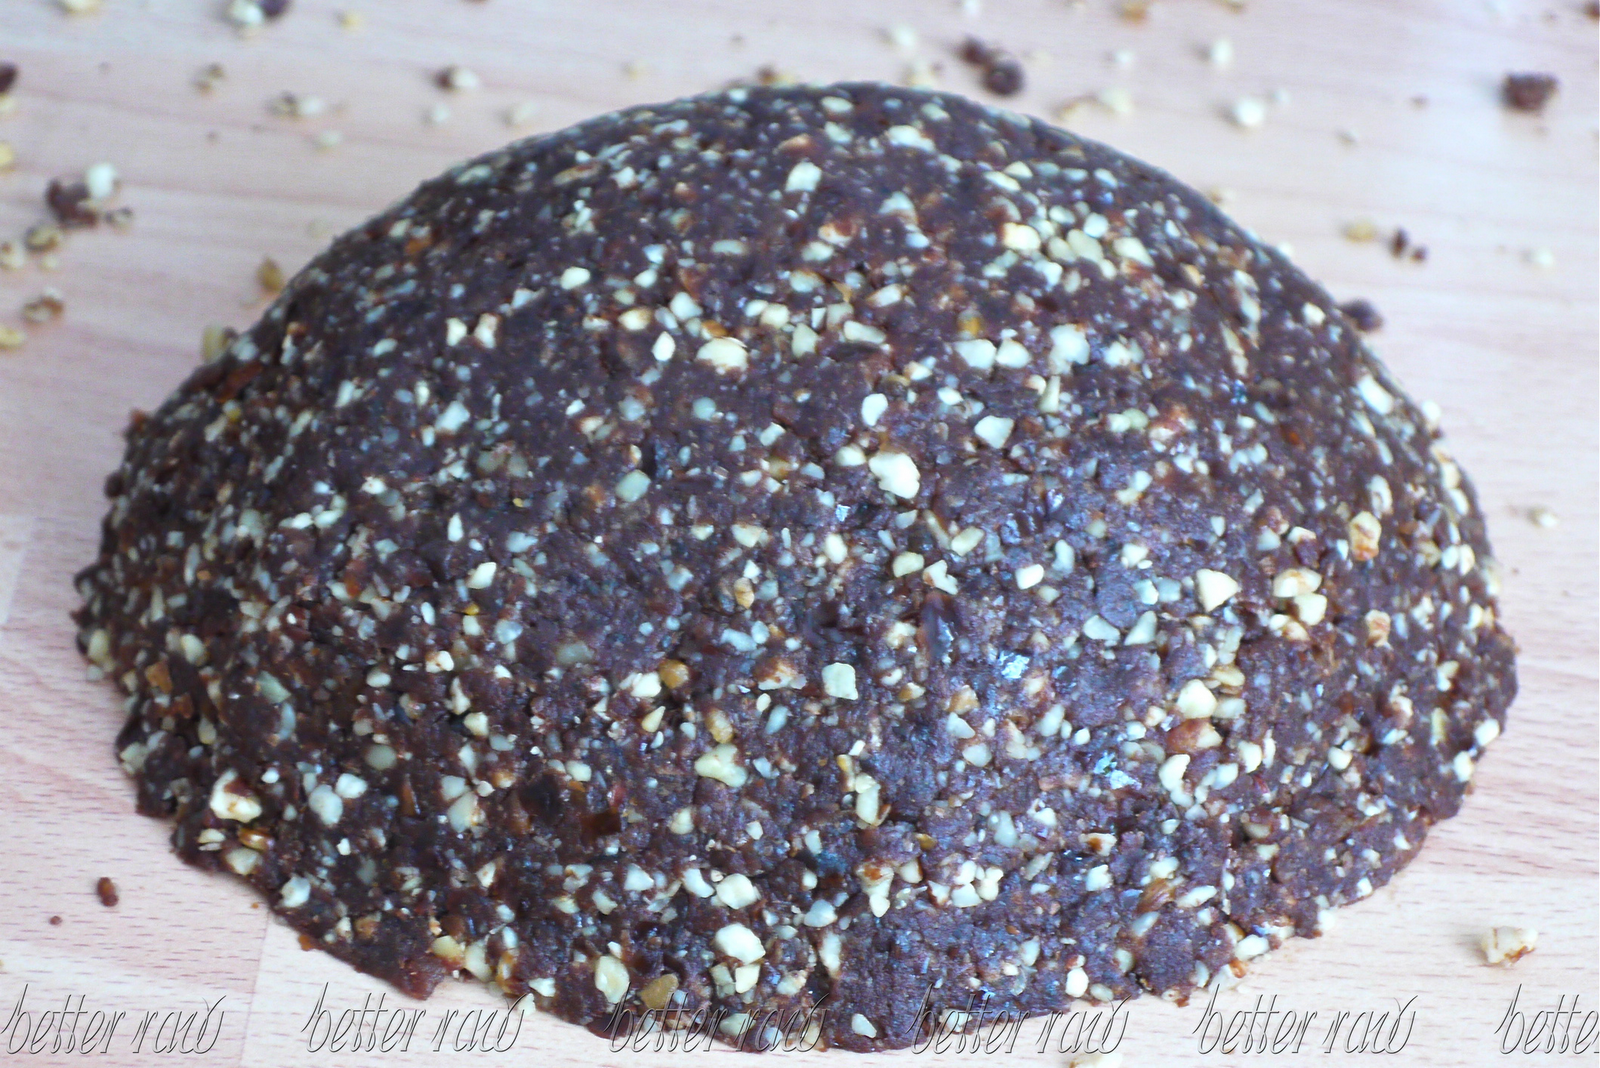
6). The shell will have to be pretty sturdy and sticky, so the best recipe to use would be one for your favourite energy balls. I used the same cake ingredients, which were in my
raw chocolate brownie, but without the icing. Remember to process the nuts to a powder first, then add everything else.
7). To form a shell, you'll need a slippery surface, so you could then slide it off. Otherwise cut a round/oval shape out of baking paper for guidance and ease of transporting it. Press hard to make sure it is solid and soften the edges with a butter knife or your fingers.
8). Assemble all the body parts on the cashew grass. Be gentle without pressing them into the icing, incase you'll need to fix their position once the shell is on.
9). Gently place the shell on top and check from all sides, that it looks right to the eye. You may like to stop at this stage, as the light coloured nuts mixed with dates and cacao powder give the shell a realistic look already.
10). You should have left over icing, so spread it over the entire shell with a butter knife. You can even make the shell a
totally new colour by mixing things like goji berries or beetroot juice in with the cashew cream.
11). If you are skipping the chocolate shell pieces in the next step, you can leave the shell with just this frosting, but use a soft spatular or a brush to even out the surface.
12). Stick on your prepared raw chocolates all over the shell starting from the top. They should be quite easy to attach, but in a case where your icing is too running, let the whole cake cool in the fridge for about 10 minutes and try again.
She's one good looking lady! I'm just glad the responsibility to cut her up is not mine :)
I posted
this picture on Facebook and some of you asked to report what the neighbours thought of their unconventional cake. Well to my pleasant surprise, the lovely Emma who found Shakes and took her to the Vet, was super sweet to leave this comment on the picture:
"We are the neighbours - this was our first ever raw cake and it exceeded all our expectations . But we did feel mean cutting into such a realistic tortoise! It will definitely make us try more raw products...thank you Tanya and Shakespeare!!"
Success! Yussss.