raw food tiramisu | the world's best dessert ever ever
It feels like forever and a half since I wrote my last recipe post. I've been so busy writing articles for various magazines and websites, that my own little gem of cyber haven got neglected. Sad face.
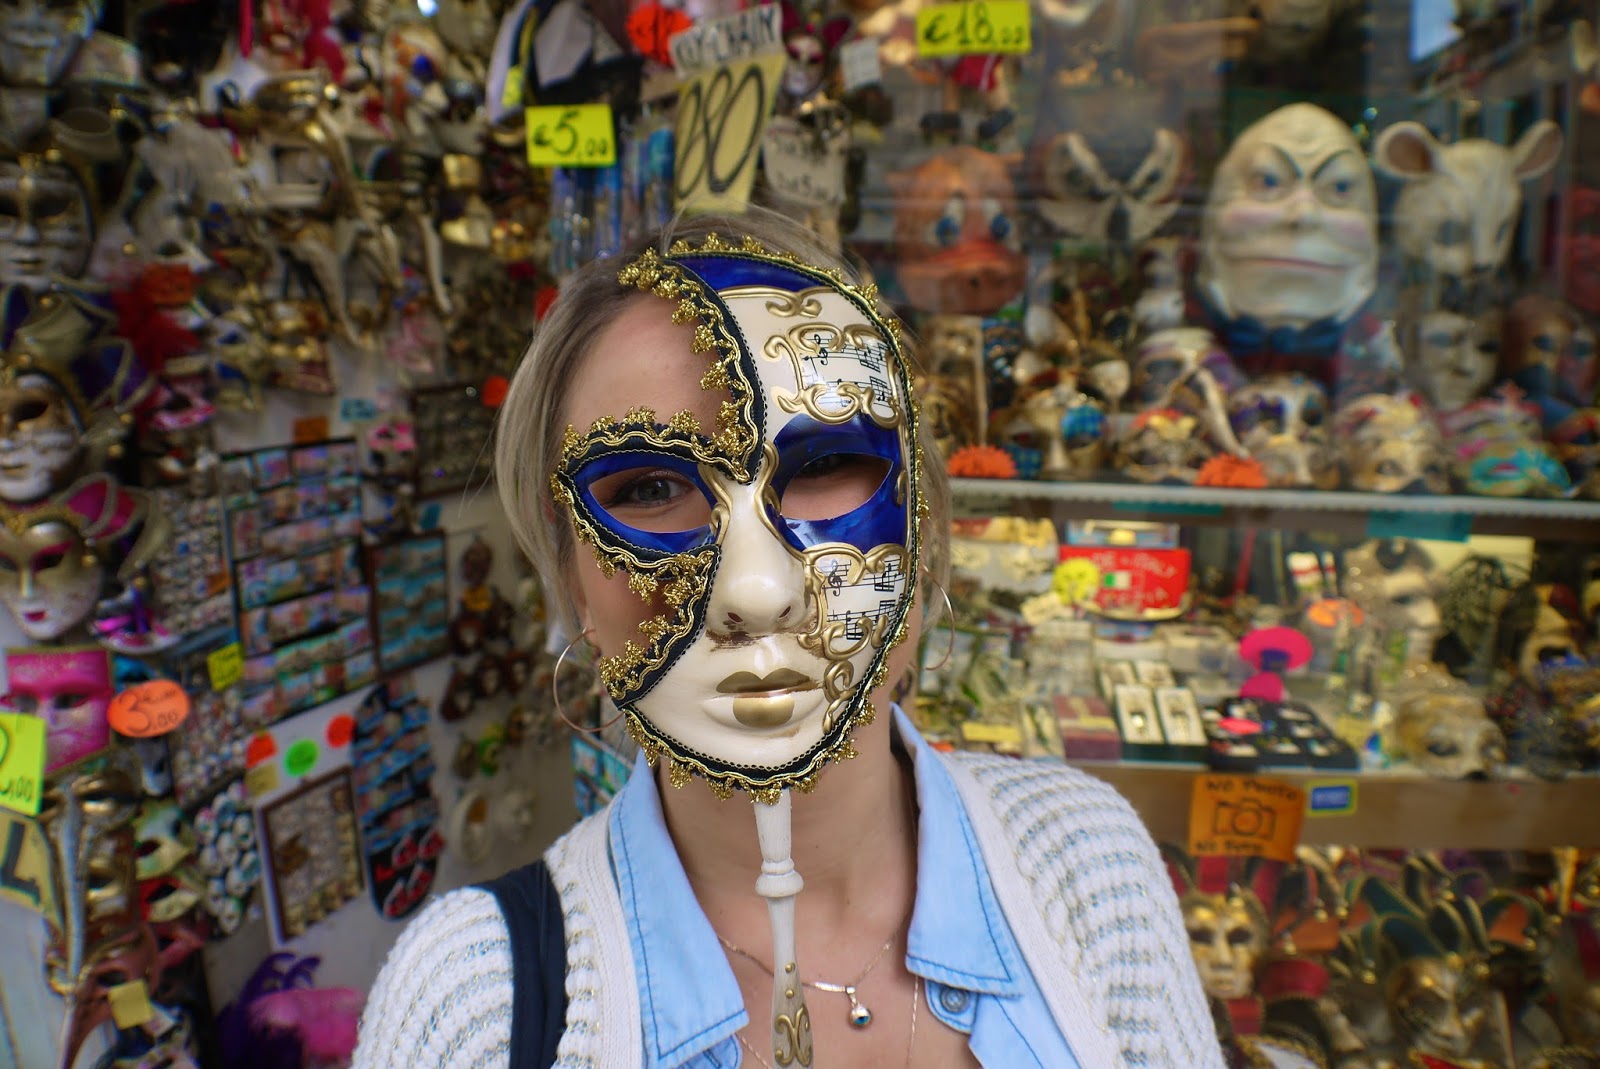
I shall make up for it over the next couple of weeks with details on our Croatia visit and our engagement party too. But first, there was Venice...
The only two places I've been to in Italy prior to this trip were Rome with my sis and Turin for skiing. Elliot's been all over Italy many years ago when he did a Contiki Tour around Europe.
He had great memories about Venice. I've always wanted to go. It was [kinda] on the way to our Croatia destination. Why not?
Being the usual fuss-ball with food, I brought a bunch of pre-prepared snacks with me, as well as my own pH booster green powder (a mix of alkalising greens, grasses, herbs and algae - the healthy traveler's dream!) and continued drinking them, as I was also on the Acid Alkaline Breakthrough program along with all my members. When the program was finished, I welcomed the opportunity to do a little research...
A tiramisu sort of research. You know- 'when in Italy'.
Well it didn't take long for me to realise, that all the time I've spent salivating over a vivid memory of the world's best, most divine, heavenly, orgasmic scoop of coffee sponge fingers and vanilla mascapone cream, was simply the tricks of my cogent imagination.
Still, I was convinced that tiramisu really had to be the best dessert on the planet, it was just that the non raw food version was no longer satisfactory to my tastebuds. As usual, this trip provided more than enough inspiration to return home and create my own version of the heaven I dreamed up in the first place...
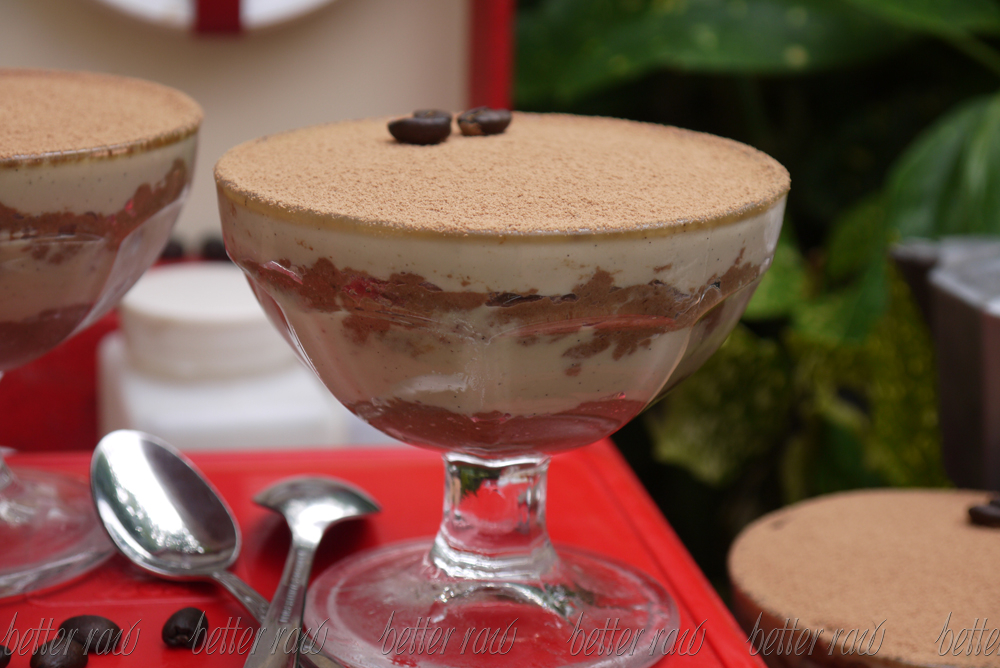
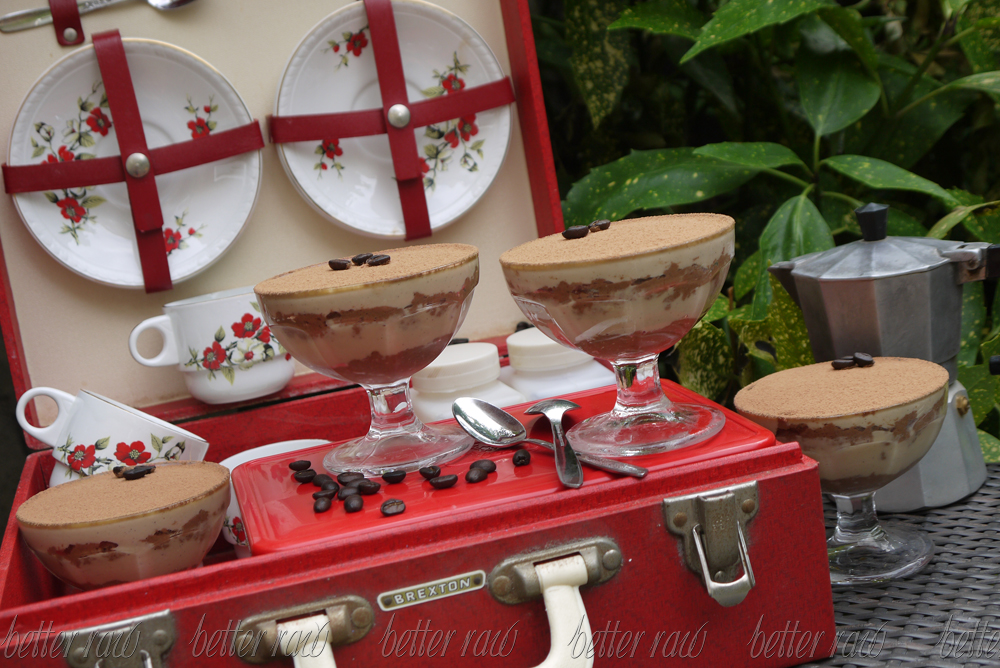
RAW FOOD VEGAN TIRAMISU
serves 5
For the hazelnut milk
1 cup hazelnuts, soaked overnight
3 cups pure water
4 pitted dates
pinch Himalayan salt
For the coffee cake layer
1 cup macadamia nuts
1 cup hazelnut meal (pulp left over from making hazelnut milk)
1/2 cup sunflower lecithin granules
1/4 cup cacao powder
1 cup pitted dates, soaked 2-3 hours
3/4 cup espresso (3 tbsp ground coffee brewed with 3/4 cups boiling water)*
1/3 tsp Himalayan salt
For the vanilla cream layer
2 cups cashews, soaked overnight
1/2 cup hazelnut milk
1/2 cup melted cacao butter
1 cup sunflower lecithin granules
1/2 cup maple syrup*
juice of 1/2 lemon
1 vanilla pod, seeds scraped out only
pinch Himalayan salt
*This is not a raw ingredient, but is regularly used in raw food recipes.

-Make the Hazelnut milk by blending and straining all the ingredients. [If you've never made a nut milk before, watch my step-by-step YouTube video here>>]
-Prepare the coffee cake layer by processing the first four ingredients in a food processor, until finely ground. Add the dates, brewed coffee and salt, and process again until you have a mixture resembling a runny and grainy cake dough.
-Prepare the vanilla cream layer by blending all of the ingredients in a high powered blender. Use a tamper to make sure that all the ingredients are touching the blade and combine well into a cream.
-This recipe should be enough for 5 small glasses or ice-cream sundae bowls (cup size or 250ml). Layer each glass by scooping in a tablespoon of coffee mix and spread it along the bottom.
-Pour in some cream, until the glass is filled to a half level mark.
-The next step will have to be done more carefully, as the cake mixture could sink into the cream if you were to throw it on top. Simply scoop little bits of cake mix around the inside edge of your glass and then add a bigger spoonful into the middle. Use the back of your spoon to lightly even out the surface, careful not to apply any pressure.
-Cover with a layer of cream and transfer to the fridge to set overnight.
-In 4-8 hours, sprinkle with some cacao powder using a sieve and serve.
[The tiramisu could be prepared well ahead of time, as it will keep in the fridge for up to 2 weeks.]
And there you go. It's pretty straight forward, but the result is incredible!
And here are just a few snaps of our trip...
 |
| Buon pomeriggio :) |
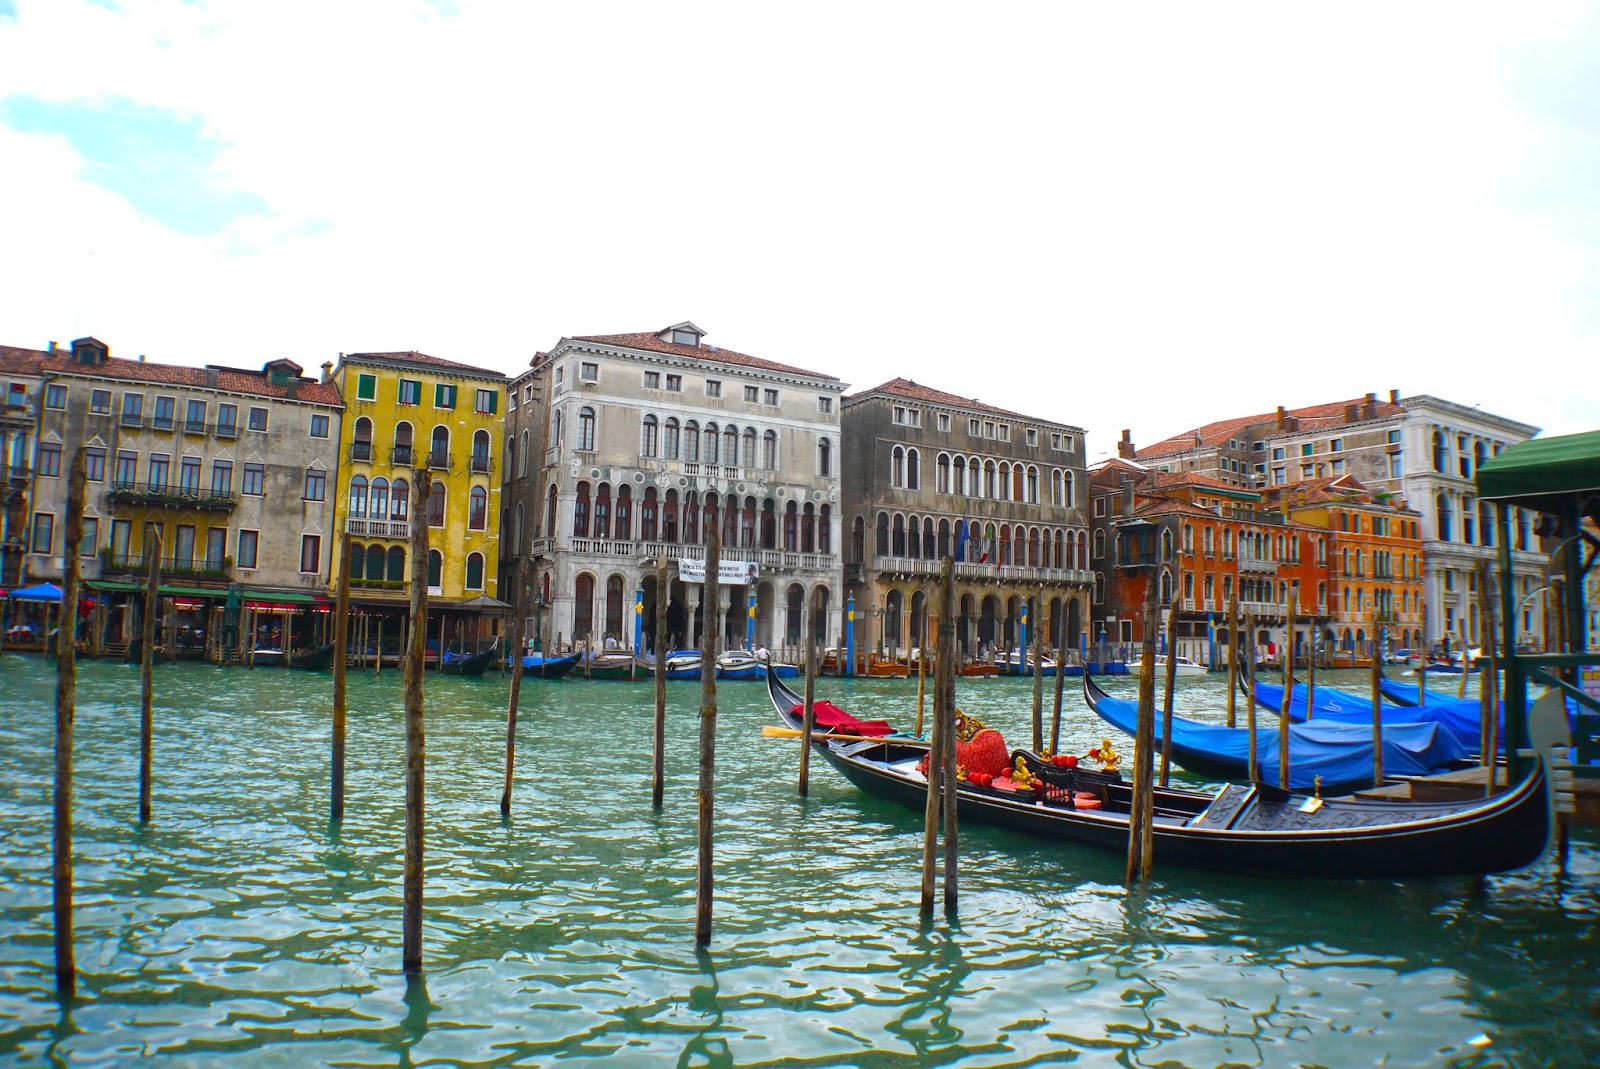 |
| Venezia loving!! |
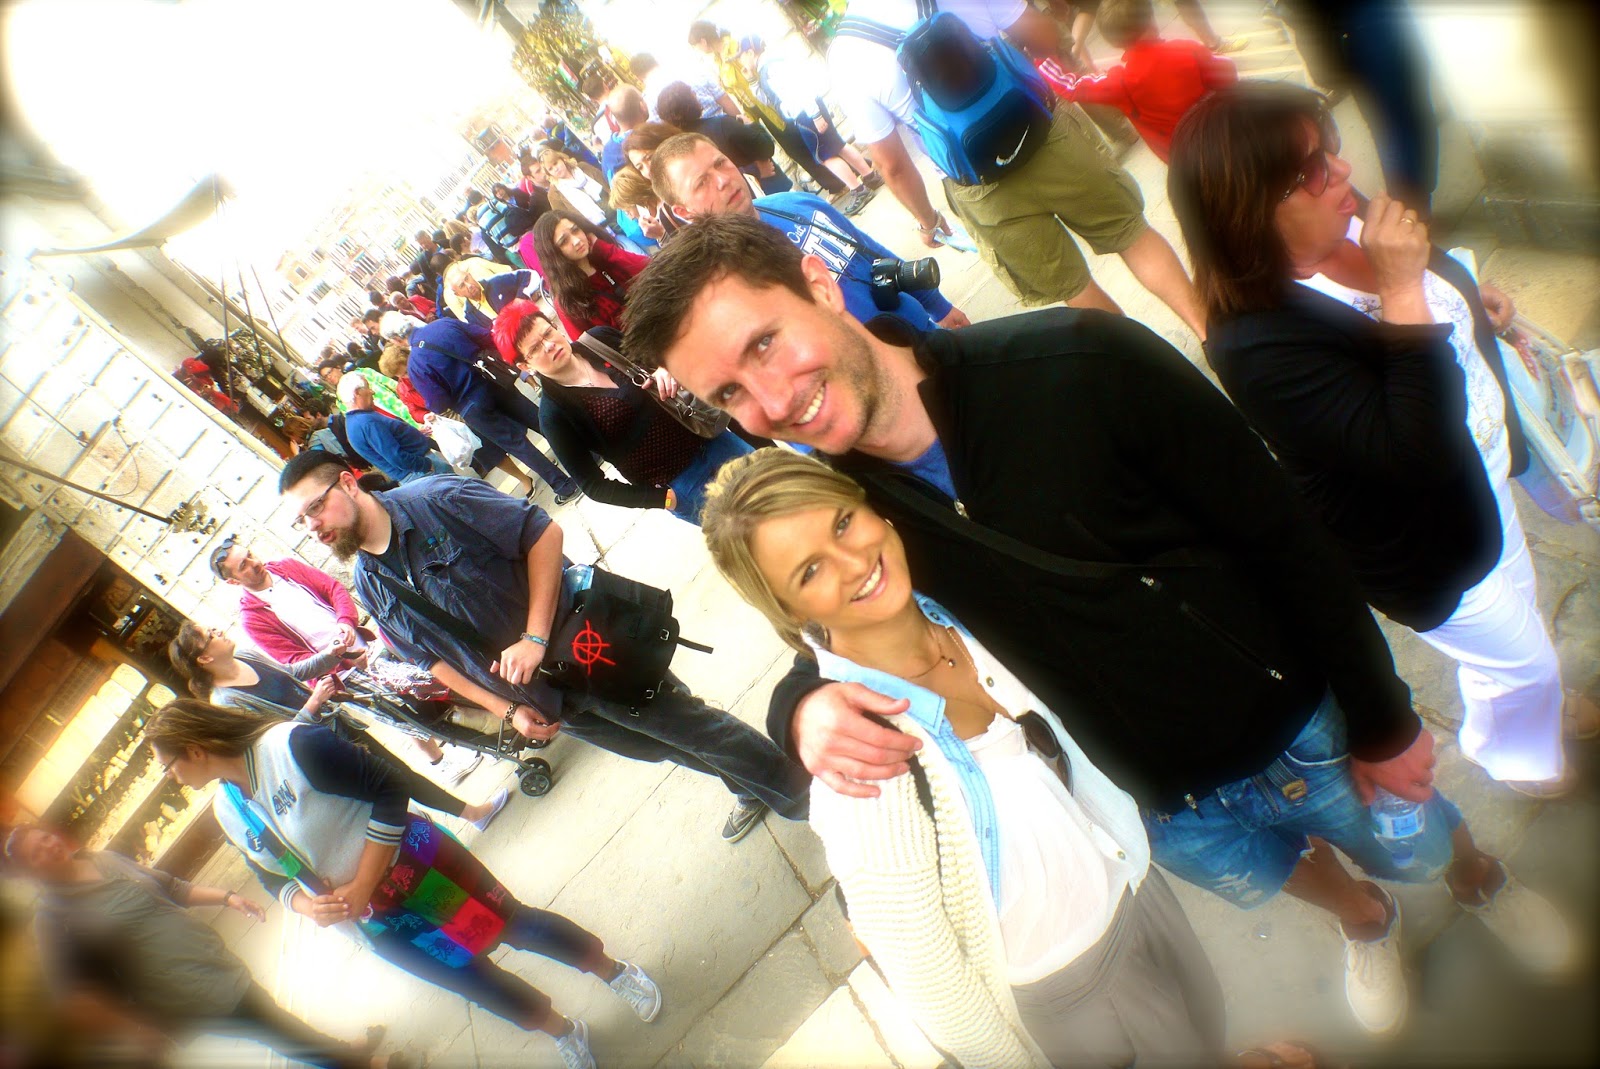 |
| Just 2 people in love... |
 |
| Still trying to figure out why I love this photo so much, but I do. It makes me happy. |
 |
| Beautiful, Venice, beautiful! |
 |
| Raw peeps won't go hungry! Fresh coconuts are everywhere, so is every kind of fruit. I went nuts for cherries. |
 |
| Happiness. |
 |
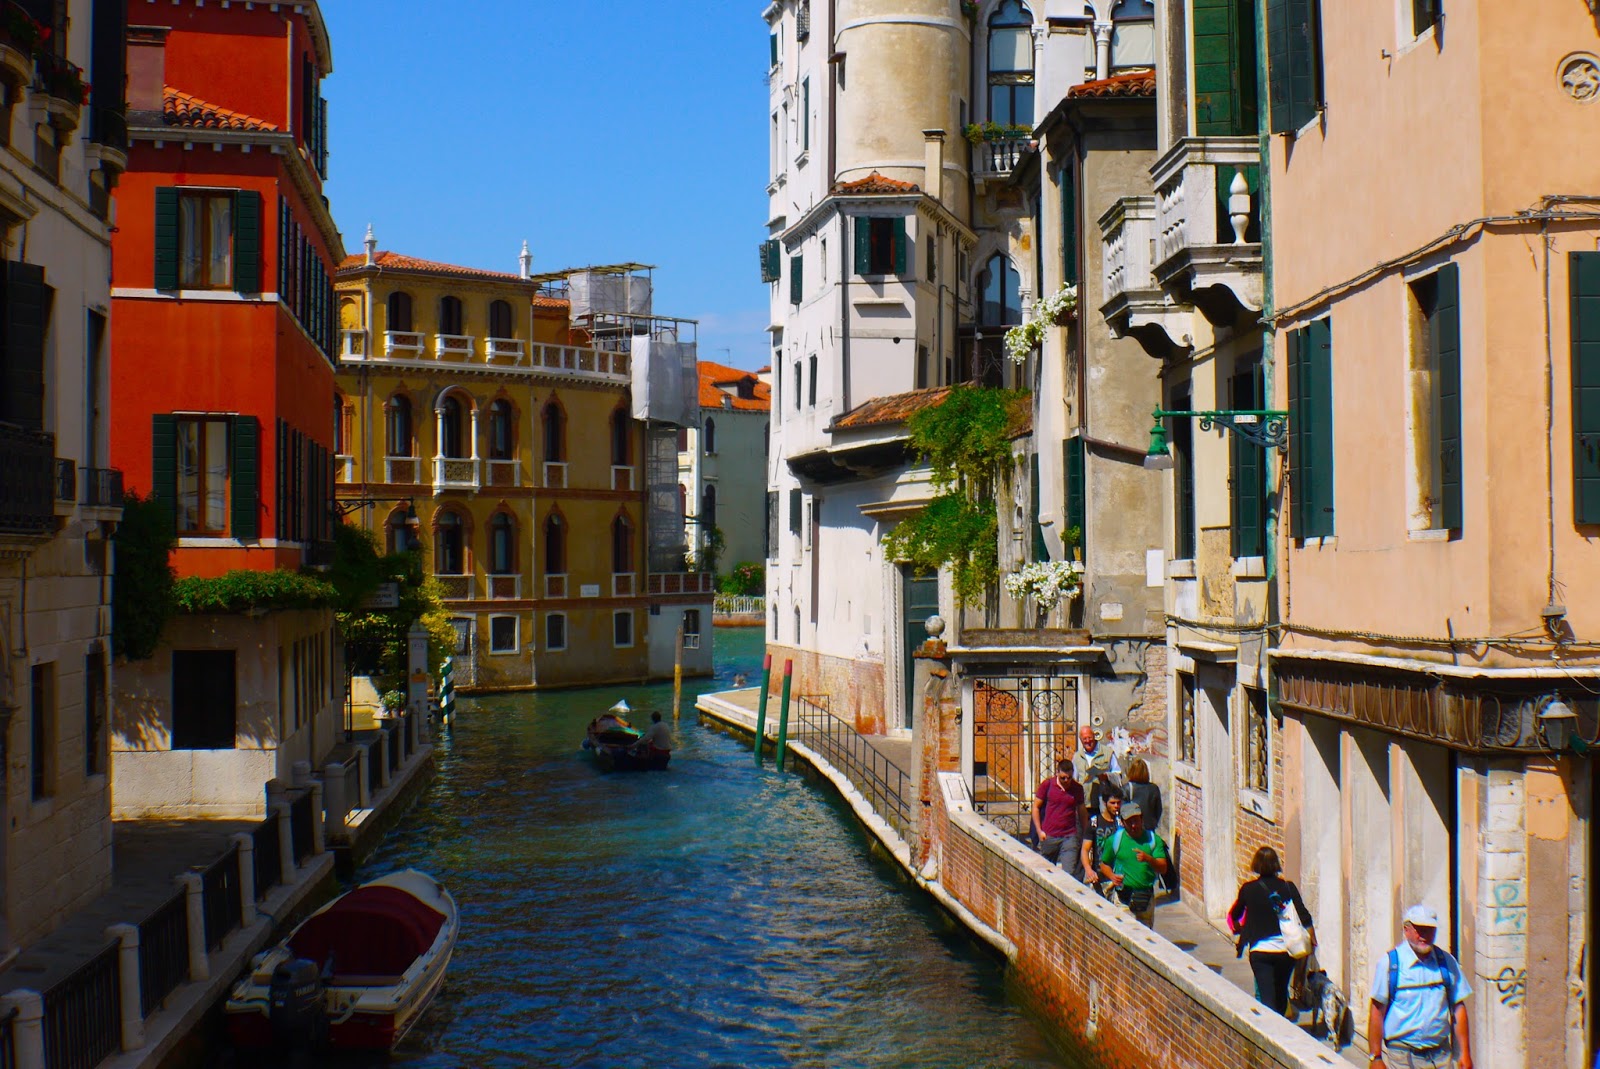
| Where are all the people? |
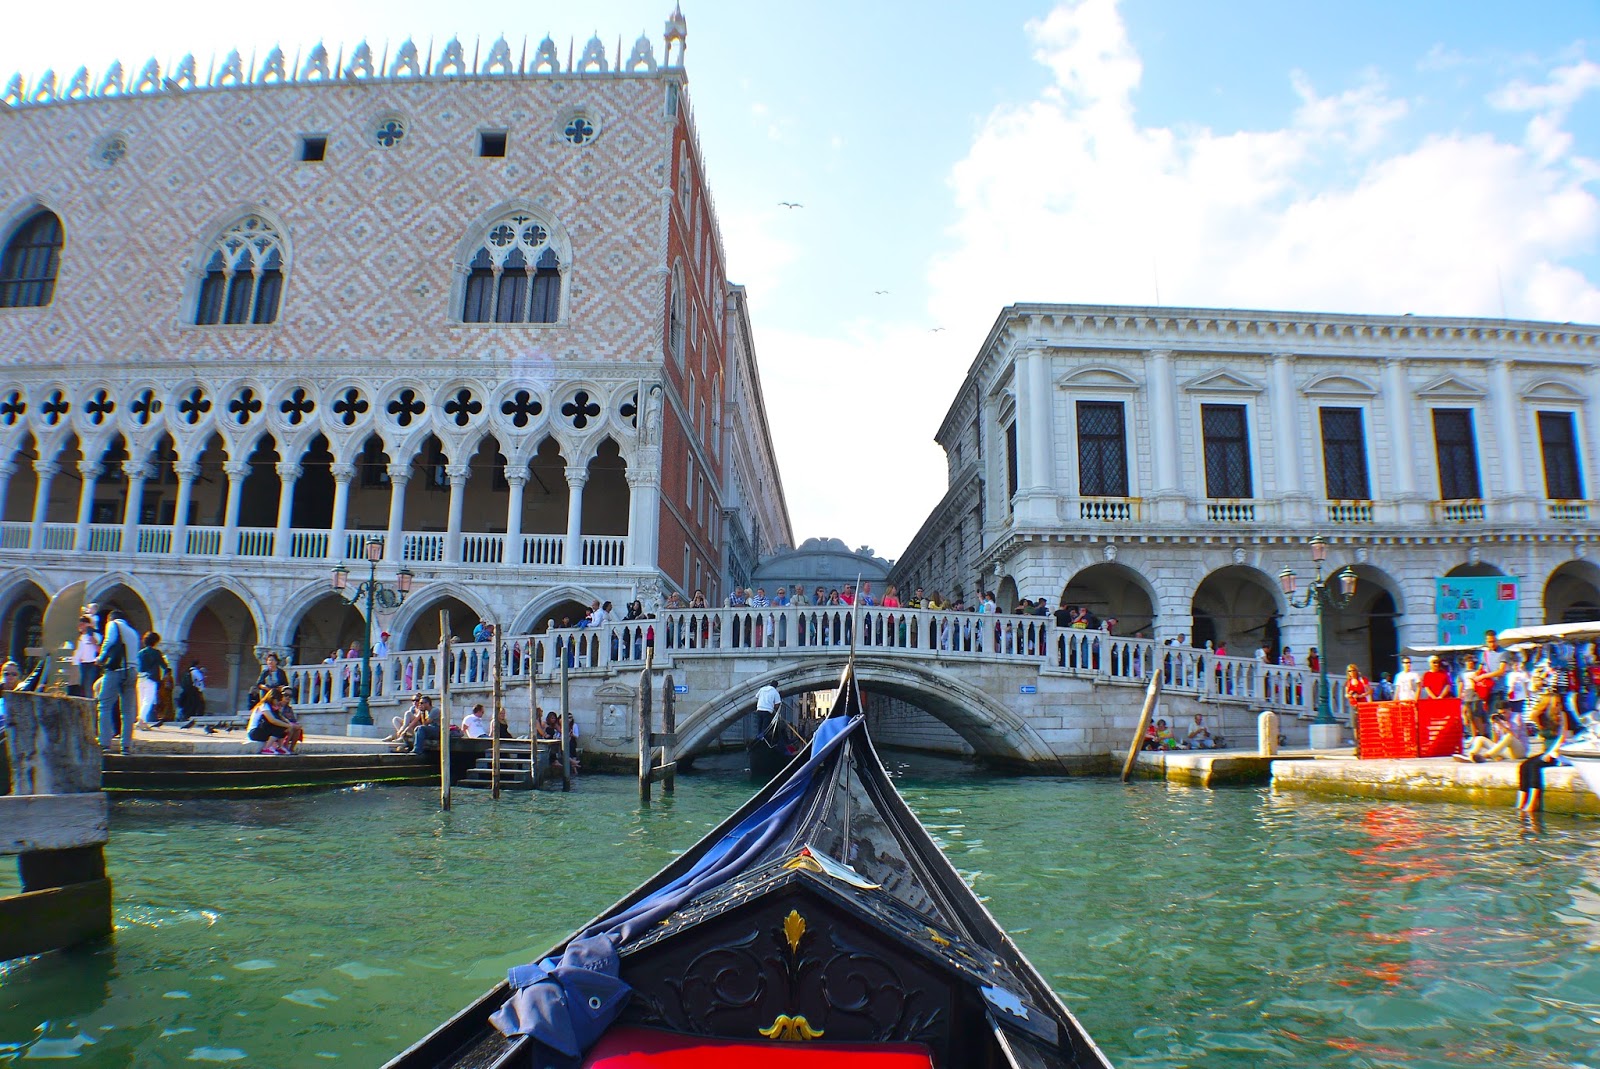 |
| 'I'm on a boat!'. |
 |
| Sun + Elliot + Venice + Boat = can hardly handle so many favourites in a single image! |
 |
| Just cruisin' and soaking up final moments of Venice. |
 |
| Trieste in all its glory. |
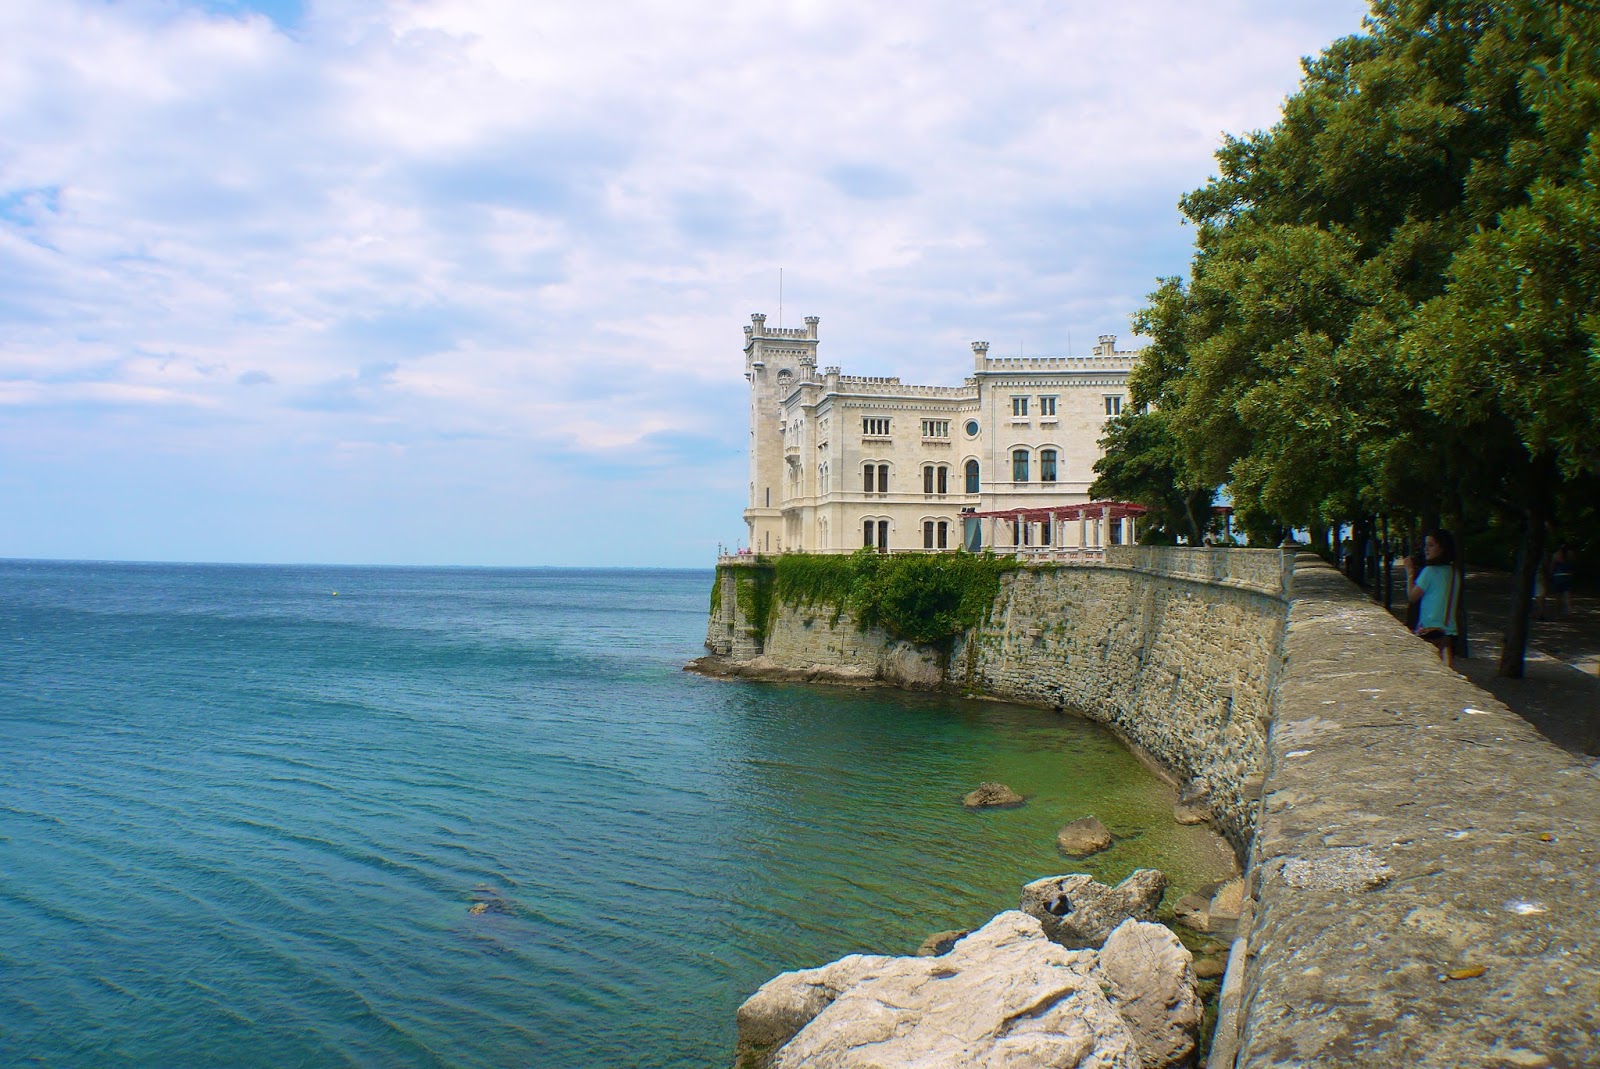 |
| Miramare Castle visit. |
 |
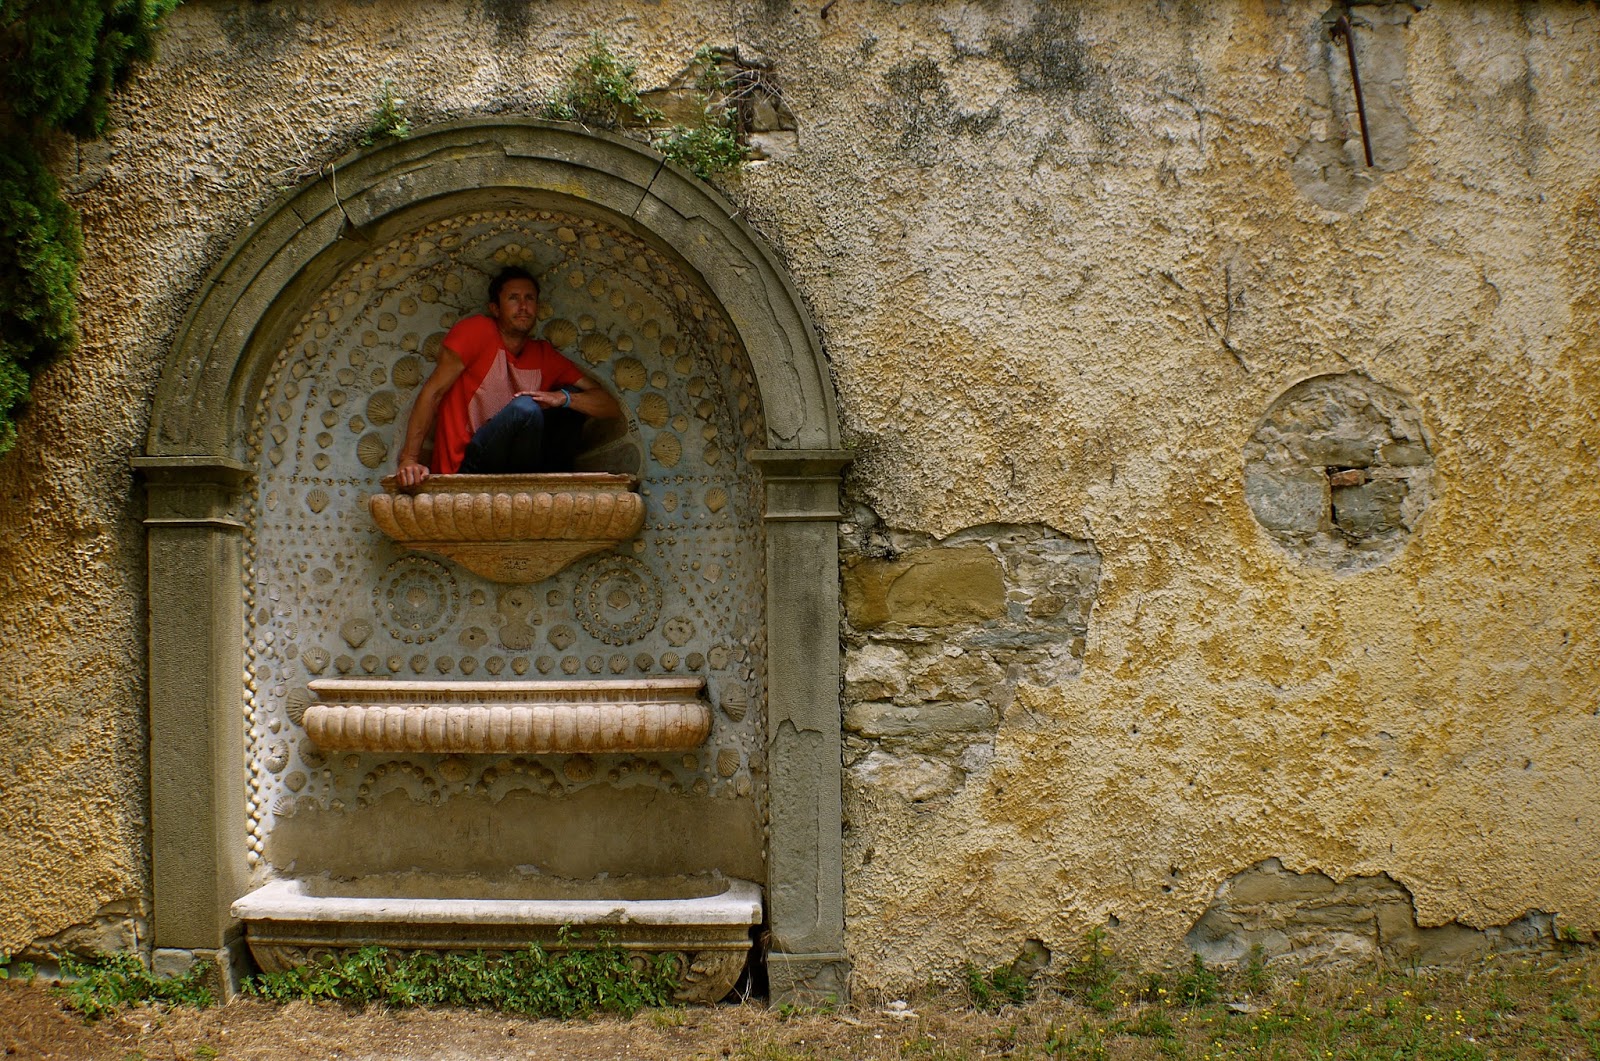
| Not sure what happened here, but this was my natural reaction to so much overwhelming beauty around. |
 |
| A refreshing water break on a super hot day. |
 |
| Nothing unusual here, folks. |